Showing posts with label Thoughts and Prayer stamp set. Show all posts

Monday, 11 May 2015

Sympathy Card inspired by a Special "Aunt's" Promotion to Glory


Late last night I found out that my Aunt Joan had received her promotion to glory. Aunt Joan is not my actual aunt by blood or family relation, but she is one of those special aunts of the heart. My parents were actually renting Aunt Joan's basement apartment when I was born, and Mom looked after Aunt Joan's boys whenever Aunt Joan went out. She had a house full of boys, no girls, so I was a bit of a fascination to them. We didn't stay with them long, but my parents remained good friends with them and I remember visits to their house over the years.

Aunt Joan was a very special lady with a heart of gold. She was such a great influence on everybody she ever met. She will be greatly missed and fondly remembered.

Thinking about her today, I decided to make a sympathy card. While browsing pinterest I came across a beautiful card by Heather Telford. She featured it in her blog post OLW 16 Stamp a Scene. After reading on her blog about how she created the card, I decided to give it a try.

I took a 4 1/4x 5 1/2 whisper white card base and masked off a section of it using post it notes. Then I sponged on Pacific Point, Mossy Meadow, and Wild Wasabi, to create a background.


Before removing the post it notes, I stamped a stamp from the Lovely As a Tree stamp set a couple of times in both Mossy Meadow and Wild Wasabi. Then I removed the post it notes and stamped the same stamp another couple of times with Memento.


I stamped the sentiment using Memento with a stamp from the Thoughts & Prayers stamp set.


Saturday, 2 May 2015

Delicate Designs


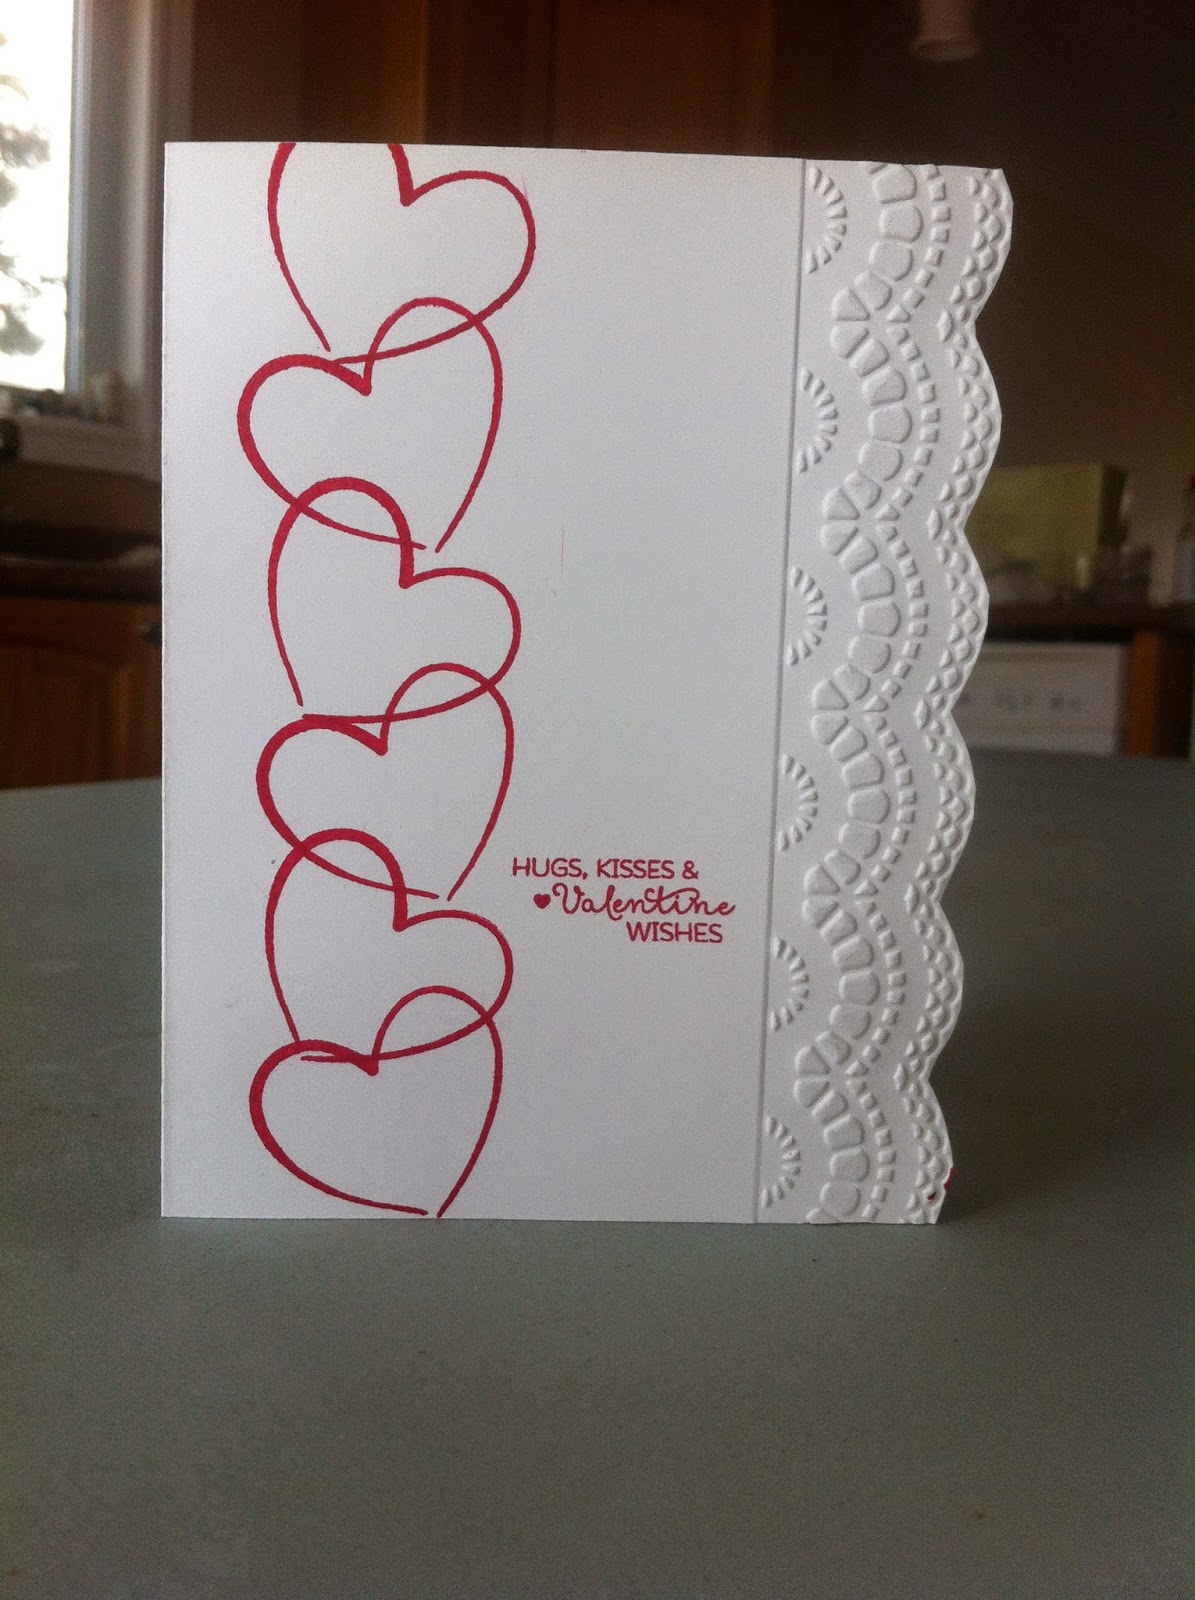
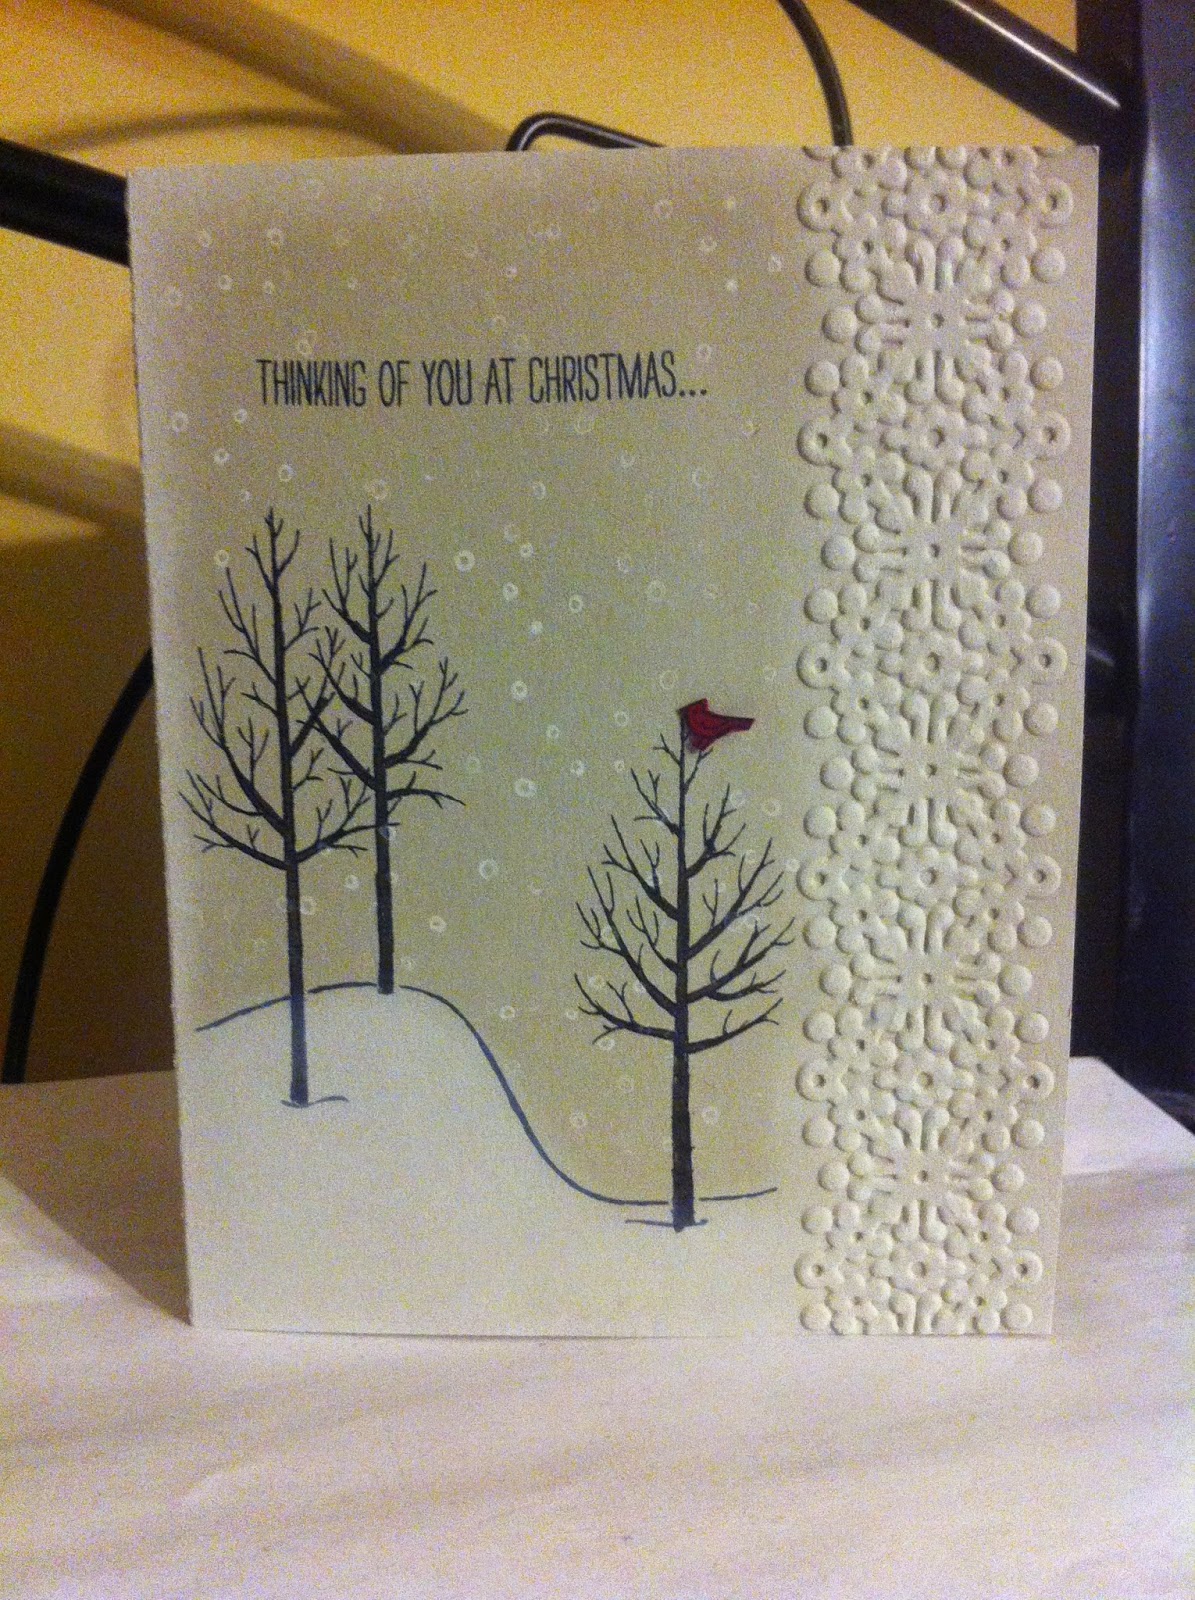
I just love the Delicate Designs embossing folders. I can't believe they are on the Retiring Product list and aren't going to be available for purchase anymore once the stock is gone. If you don't have them, snatch them up quick! They are such a great deal right now at just $5.48!


I decided that I would dedicate a post to show how I have used these embossing folders.

The card above was stamped with stamps from the Layers of Gratitude Paper Pumpkin kit. The two coloured piece was created with a slight variation of the Bokeh Technique that I explained in a previous post.

Here are some cards I've featured in earlier posts (Click on the picture to go to the blog post):


And here's some I haven't featured on my blog before:


If you decide you have to have the Delicate Design Embossing folders, don't forget to use my Hostess Code for May. Find it, and the details on how it can help you get free product, on my Jac's Stampin' Points page.


Wednesday, 29 April 2015

A little addition


The above card is is a slightly upgraded card of the below card.


Can you spot the difference? (aside from the obvious colour difference, of course)

I added some little Pearl Basic Jewels Embellishments to the yellow card to give it a little extra punch. What do you think?

I may do more of these, with and without the pearls, in different colours and with different sentiments. They are so fast and easy to do!

If I get six people interested, I'll even do a class. Let me know if you're interested.

To learn more about the inspiration for this card check out my I Simply Love a Simple Card post.


Built for Free Using: My Stampin Blog

Saturday, 25 April 2015

I Simply Love a Simple Card!


This card was inspired by the beautiful, but simple, cards on Jennifer Talley's Meet the New In Colors blog post. I loved the cards in that post and had to C.A.S.E. them. I searched through my stamps for ones similar to the ones she used.

The card above is stamped with Rich Razzleberry using stamps from Butterfly Basics and Nature's Perfection (a stamp set that is no longer available). The butterfly was cut using the Big Shot and one of the Butterfly Thinlits Dies. While I used the Big Shot and die to cut out the butterfly, it could very easily be cut out with just scissors.


This card was stamped with Tempting Turquiose using stamps from Butterfly Basics and Thoughts & Prayers stamp sets, both of which are still available for purchase.


These are two of my favourite stamp sets at the moment. They are so versatile. With these two stamp sets you have stamps to cover birthdays, get well soon, sympathy, general thinking of you, and general wishes. And the images with them are beautiful. They have greetings that can be used both outside and inside the card. With white card stock, one ink colour, and either of these stamp sets you can make a lot of great cards. 


Built for Free Using: My Stampin Blog

Saturday, 28 March 2015

Simple, but elegant card to show you care


Made this one a while back using the Thoughts and Prayers stamp set. It is so easy to make and uses very little product.

The card base I made from Very Vanilla cardstock. I inked the edges of the card base with Coastal Cabana using a piece of Stamping Sponge.

I cut another 4 x 5 1/4 piece of Very Vanilla cardstock.

I inked the D size clear block with my Coastal Cabana ink pad and stamped it in the middle of the cardstock. This works best if you have a Stamp 'n' Pierce mat, or something similar, under the cardstock while you stamp.

I stamped the image and the sentiment using Memento Ink and stamps from the Thoughts and Prayers stamp set.

Using a template from the Essentials Paper-Piercing Pack, I pierced around the edge of the cardstock.

I attached a piece of Coastal Cabana Ribbon from the Best Year Ever Accessory Pack to the bottom part of the piece of cardstock and tied another small piece over the top of the piece in a knot.

I then attached the piece of cardstock to the card front.

Simple, but elegant.


Built for Free Using: My Stampin Blog

Sunday, 8 February 2015

Cards for difficult times


The Thoughts and Prayers Stamp set is one of my favourite. It is a great set for creating cards for friends that may be going through difficult times. I love the images and the sentiments in the set. I am only featuring one of the sentiments in this post.


For this card I started with a whisper white card base which I created by cutting an 8 1/2 x 11 piece of card stock to get an 8 1/2 x 5 1/2 piece which I scored at 4 1/4.
I cut a 5 3/8 x 4 piece of Early Espresso card stock and adhered it to the front of the card.
I cut a 5 1/4 x 4 piece of pistachio pudding. I embossed the edge of the card with one of the Delicate Designs embossing folders and trimmed the scalloped edge with scissors before adhering it to on top of the Early Espresso.
I cut a piece of 4 1/4 x 2 3/8  piece of whisper white card stock to stamp the images on. 
Instead of inking the stamp with an ink pad, I applied the ink by colouring directly on the rubber stamp before stamping. I inked the tree trunk and branches by inking that part of the rubber stamp with an Early Espresso Stampin' Write Marker. I didn't have a Pistachio Pudding Marker but I learned a little while ago that you can pick up ink from any stamp pad with a Blender Pen to use to colour stamped images or to apply ink to a stamp before stamping. I inked the leaves by using a Blender Pen and picking up ink from a Pistachio Pudding ink pad to ink the leaves on the rubber stamp. I then "huffed" (kind of like blowing) on the stamp a couple of times to ensure the ink was wet before stamping it onto the card. I coloured the sentiment with the Early Espresso marker and stamped it on.
I cut a 4 1/2 x 3 piece of Early Espresso card stock to make a mat for the image. I adhered the two together before adhering them to the card front.
I love how it turned out.


For this card I again started with a whisper white card base which I created by cutting an 8 1/2 x 11 piece of card stock to get an 8 1/2 x 5 1/2 piece which I scored at 4 1/4.
I cut a 5 1/2 x 4 1/4 piece of Calypso Coral card stock and embossed it with the Filigree Embossing Folder which was in the Holiday catalog but sadly is no longer available.
I cut 3 3/4 x 2 3/4 piece of Very Vanilla card stock. Once again I used the Early Espresso Stampin' Write maker to ink the stem of the flower image directly on the rubber stamp. I used the Blender Pen to pick up ink from a Wild Wasabi ink pad to ink the leaves and also to pick up ink from a Pistachio Pudding ink pad to ink the flowers. Once the stamp was all inked I "huffed" on it to make sure the ink was wet before stamping the image. It took a bit of time but I love how it turned out. I inked the sentiment with the Early Espresso Stampin' Write Marker before stamping it.
I cut a 3 x 4 piece of Early Espresso card stock and adhered the stamped image to it before adhering both to the card front.
You can't really notice it in the pictures but the Very Vanilla gives the card a softer look than if I had used Whisper White.

If you are interested in trying out this method of inking images, let me know by filling in the contact form to the right. If you live close by I'll try to arrange a class for you to attend. If you live too far to come to a class, I can arrange to demonstrate it for you through Skype or FaceTime if you are interested.

If don't already have the supplies and you place an order with me for all of the following:
1. a Thoughts and Prayers stamp set, 
2. an Early Espresso ink pad or marker, 
3. a Pistachio Pudding or Wild Wasabi ink pad, 
4. a Coral Calypso ink pad, 
5. a blender pen, 
I will send you the paper supplies needed to make both of these cards and guide you through making them, either in person or through the internet. If you add a little more to your order, so that it totals $60, you will be eligible to receive one of the free products in the Sale-a-Bration brochure. You can have the order delivered directly to you. Let me know if you are interested and want more information.


Built for Free Using: My Stampin Blog