These are some things I've been working on. Hopefully I'll have at least one finished product tomorrow. We'll see. I'm giving my girlie some undivided attention right now for a bit.
See the balloons? I was experimenting with the kissing technique. I'll tell you more about that another day. I used a stamp from the Celebrate Today stamp set and another one from the Butterfly Basics stamp set.
The other pieces are a Father's Day card idea I was working on using stamps from the retired Wood You Be Mine stamp set and some stamps from the April 2015 Love You a Lot Paper Pumpkin Kit. I was really hoping to have it done in time to get to my dad for Father's Day, but I failed at that again. (sigh)
The Ways to Use It Challenge at SplitcoastStampers this past Thursday had a "Go West" theme to it and included links to a number of different techniques that I wanted to try out. I finally decided to try the Faux Stamped Leather first. I didn't have a lot of the supplies that she used in the tutorial so I substituted and changed it up a bit and used what I had.
I decided to make a 4x4 card so I cut a 4x8 piece of Sahara Sand and scored it at 4. Then I stamped an image from the Butterfly Basics stamp set using Blackberry Bliss on the card front. I placed the opened card on my Stampin' Pierce Mat and, because I don't have a stylus yet, I used the end of a paintbrush to trace the outline of the stamped images. Then I sponged over the entire thing with Hello Honey.
Then I sponged over the entire again thing with Pumpkin Pie.
And then with Baked Brown Sugar, which is a retired product and no longer available.
Lots of people tend to think that browns and the leather look are masculine looks, but females like leather and browns too, so it's good for either sex.
This was fun to do and I think I will be trying it again, possibly using different colours. I need to get more browns to get an even better look, but I'm pleased with how it came out.
This is definitely not a card that would appeal to everyone, but I do think there are people it will appeal to. It has a definite artsy/grungy look. It is the result of a few inspirations all mixed together.
The focal point of this card was created way back in April when I did the Watercolours Ways to Use It Challenge Part Two: Embossing Folder Stamping. For the card featured in that post I used one side of the embossing but I also decided to try the same technique on the other side of the embossing folder, but I just used regular card stock instead of watercolour paper. The card stock curled and twisted and didn't lay flat so I just laid it aside thinking I might find a use for it some day because I did think it was kind of cool. Today was the day.
Way back in April I used my sponges to add colour to the Lovely Lace TIEF. Then I misted the folder with my water using my Stampin' Spritzer before pressing the 4 3/4 x 3 1/2 piece of Whisper White card stock on top of it. When it was dry I stamped the greeting using a stamp from the Butterfly Basics stamp set. I laid it aside in my scrap box until I picked it up today.
I liked the little rumpled look of it and decided I didn't want to try to flatten it so I adhered it to a 5 x 3 3/4 piece of Crisp Canteloupe in such a way that it retained it's rumpled look.
When I got that done I remember that there was a challenge on SpiltcoastStampers recently that involved rolling the edges of papers on a card. It was the Try a New Technique Challenge the week of June 8th. I decided to try that technique on this card. First I rolled the edges around a pencil but I wanted the roll to be tighter so I tried the skinny end of a paint brush. That looked a little better.
I adhered the matted piece to a 4 1/4 x 5 1/2 card base and inked the edges of the card base with my sponge a little with Crisp Canteloupe and Blushing Bride.
As I said, it's not a card for everyone, but someone would definitely appreciate it.
The card above was one of the cards featured in my Virtual Stamp Night Creations blog post. For this card I used the punch to highlight a particular spot of another stamp. This technique is called the spotlight technique and it is very easy to do. You stamp an image in one colour on two different pieces of card stock and then pick an area of the image to punch out of one of the stamped images. You then colour the image on the punched piece and adhere it to the whole image with a dimensional. So easy and so cool! I need to do this again. The stamp set I used on the card is the Butterfly Basics stamp set. I coloured the image on the punched out piece with my Blender Pens.
For this card I added some texture to the pansies by placing them on the Stampin Pierce Mat and going around the edges with the round end of my Paper Piercing Tool and then turning them over and pressing the round end of the Paper Piercing Tool in the middle to make the petals pop and adding lines to the middle of each petal. I repeated that a few times until I was happy with the look. I used a number of different products and techniques with this card and you can read more about it on the original post.
The Birthday Blossoms and Flower Shop stamp sets coordinate with the Pansy Punch. Presently I don't have either of these stamp sets, but I hope to change that soon.
I made these bookmarks tonight to give to my guests at Stampin' Up! Open Houses across Newfoundland this week. It's going to be a busy week!
At the events, guests will receive a copy of the 2015-2016 Stampin' Up! Annual Catalogue. I heard that demonstrators often make bookmarks to give to their customers along with their catalogues, so I set of to research what these bookmarks might look like. I've seen some beautiful bookmarks during my research.
I've been debating with myself for weeks about the design of my bookmarks. Should I go for function or beauty? Should I feature the new In-Colours? Should I feature a new stamp set, maybe the RMHC stamp set? Should I use some punches, dies, layers?
I finally decided that I would make my bookmarks functional. The purpose of the bookmark is to mark pages and help you find your favourite things, so I decided to go with a "These are a few of my Favourite Things" theme.
I decided to make one side of the bookmark a wish list with space for customers to record their favourite things, along with the pages they are found on.
The other side of the bookmark contains my contact information so that they can easily contact me with any questions.
Using the word processing program on my printer, I played around with textboxes and placement until I had something that worked. I printed that on Whisper White Cardstock and then cut the bookmarks. They measure 2 x 8 1/2. Then I used the Tag Topper Scalloped Punch on the top and rounded the bottom edges using the Envelope Punch Board.
Stamps from two of my favourite stamp sets (Butterfly Basics and Lovely as a Tree) were used in the design of the bookmarks, and I also used one of my favourite techniques - sponging. I tied a 6 inch piece of my favourite colour lace to the top of the bookmark for the final touch.
The 2015-2016 will go live online tomorrow, so be sure to check it out. If you would like to have a paper copy of the catalogue, along with one of my bookmarks, let me know.
I started with a piece of Stampin' Up! Watercolour Paper. I used Stampin' Write Markers to ink up one of the stamps in the Butterfly Basics by colouring right onto the stamp. Then, before stamping on the watercolour paper, I gave the stamp a few sprays of water with my Stampin' Spritzer.
I cut the Watercolour Paper to 3 x 5 and scored it 1/4" all around to give it a little added punch.
I cut a 5 1/4 x 3 1/4 mat of Midnight Muse card stock and adhered the watercolour to it.
I created a 5 1/2 x 4 1/4 Summer Starfruit card base by cutting a 5 1/2 x 8 1/2 piece and then scoring and folding it at 4 1/4. I adhered the matted watercolour to the card base.
I cut a 1 1/2 x 4 1/4 piece of Window Sheet and stamped a greeting from the All Shook Up Paper Pumpkin kit onto it with VersaMark. Then I sprinkled that with Gold Emboss powder before heating it with my Heat Tool. I adhere this to the card by hiding Mini Glue Dots under the letters and putting a little strip of Snail down the right side of the window sheet and down the middle where I knew the ribbon would cover it on the left.
I cut a 6" piece of ribbon, wrapped it around and adhered it inside the card with snail. I cut a 3" piece of ribbon and tied it in a knot on the ribbon at the front of the card.
The ribbon, markers, and card stock I used on this card are all from the 2012-2014 In-Colour Collection and are no longer available but you can find similar colours in the other Colour Collections.
Because the All Shook Up Paper Pumpkin kit is a past it it is now only available to current subscribers. One of the perks of being a Paper Pumpkin Subscriber is that you can purchase past kits. Now is a great time to become a Paper Pumpkin Subscriber. Until June 10 new subscribers get their first two kits for half price! You can not get the All Shook Up kit for half price but you can get the upcoming June and July kits for half price, and then order the All Shook Up kit for full price. Join Now!
A few posts ago, in my Butterfly Decorations and Stands post, I posted a picture of a few elements that I was hoping to use in cards soon. I made use of one of them in this card. The stamped image was one I made when I was working on my Blue Morpho card, thinking I would use it as the background for the Blue Morpho butterfly, but when I went to place the butterfly on the card I didn't like how the butterfly covered up the beautiful flowers and ferns. I decided to use a different background for the butterfly and laid this piece aside for another time. Tonight was the time.
I decided to tear the edges of the whisper white card stock to give it a soft look and tied a piece of Crushed Curry ribbon across the bottom before attaching it to a Strawberry Slush mat and then to a Pistachio Pudding card base.
I added a couple of Pearls for a little extra punch.
**Strawberry Slush and Pistachio Pudding were part of the 2013-2015 in Colours so will no longer be available after June 2. Melon Mambo and Wild Wasbi could be used in their place.
Some might think it's weird, but the first work of my three works in progress pieces that I decided to make use of is the one that turned out the worse. I almost threw this watercolour piece in the garbage, but I'm glad I didn't. I like how it turned out.
I started with a piece of Stampin' Up! Watercolour Paper. I used Stampin' Write Markers to ink up one of the stamps in the Butterfly Basics by colouring right onto the stamp. Then, before stamping on the watercolour paper, I gave the stamp a few sprays of water with my Stampin' Spritzer. Unfortunately I sprayed it a bit too much and a bit too close causing the image to totally lose it's definition when I stamped it. I was bummed, but I recognized what I had done wrong and decided to try again, but I also decided to keep this particular piece and see if I could redeem it some how.
The more I looked at the piece, the more it grew on me and I finally came up with a plan. I cut the watercolour piece to 4 x 5 1/4.
I cut another 1 x 2 piece of watercolour paper for the sentiment. Using Baked Brown Sugar I inked up one of the stamps from Butterfly Basics stamp set and I misted it just a touch with my Stampin' Spritzer before stamping it.
I cut a 1 1/4 x 2 1/4 piece of Summer Starfruit card stock and adhered the stamped greeting to it.
I cut a 6" piece of ribbon and adhered the matted greeting to it before adhering the ribbon around the watercolour piece.
I cut a 4 1/4 x 11 piece of Primrose Petals and scored it at 5 1/2 to make the card base and adhered the watercolour piece to the base.
I decided to add three Pearl Basic Jewel Embellishments as an extra touch but it still seemed to be missing something. I didn't like how the flowers lacked detail so I decided to add some details with my Dazzling Details. It was the finishing touch I was looking for.
The colours I used in this card are all past In Colors and are no longer available, but comparable colours can be found in the current Stampin' Up! Colours Collections.
No finished product to show today, because I can't decide what to do with these. I have some ideas, but can't seem to settle on a plan.
The creations were inspired by this week's Technique Tuesday at SplitcoastStampers - Distress Stain Watercolour by Heather Telford. Heather used Tim Holtz Distrain Stains and Markers in her tutorial, but I just used Stampin' Up! Stampin' Write Markers. The one on the left was the first one I did. I misted it way too much, but I think I will probably still use it sometime. The one on the right I did next, and I still misted it a bit too much. The center one was my third attempt and it turned out the best.
So, it didn't come out quite like I had it pictured it my head, but it's not too bad. Don't forget to check out the video at the bottom to see the butterflies flutter out of the card when you open it.
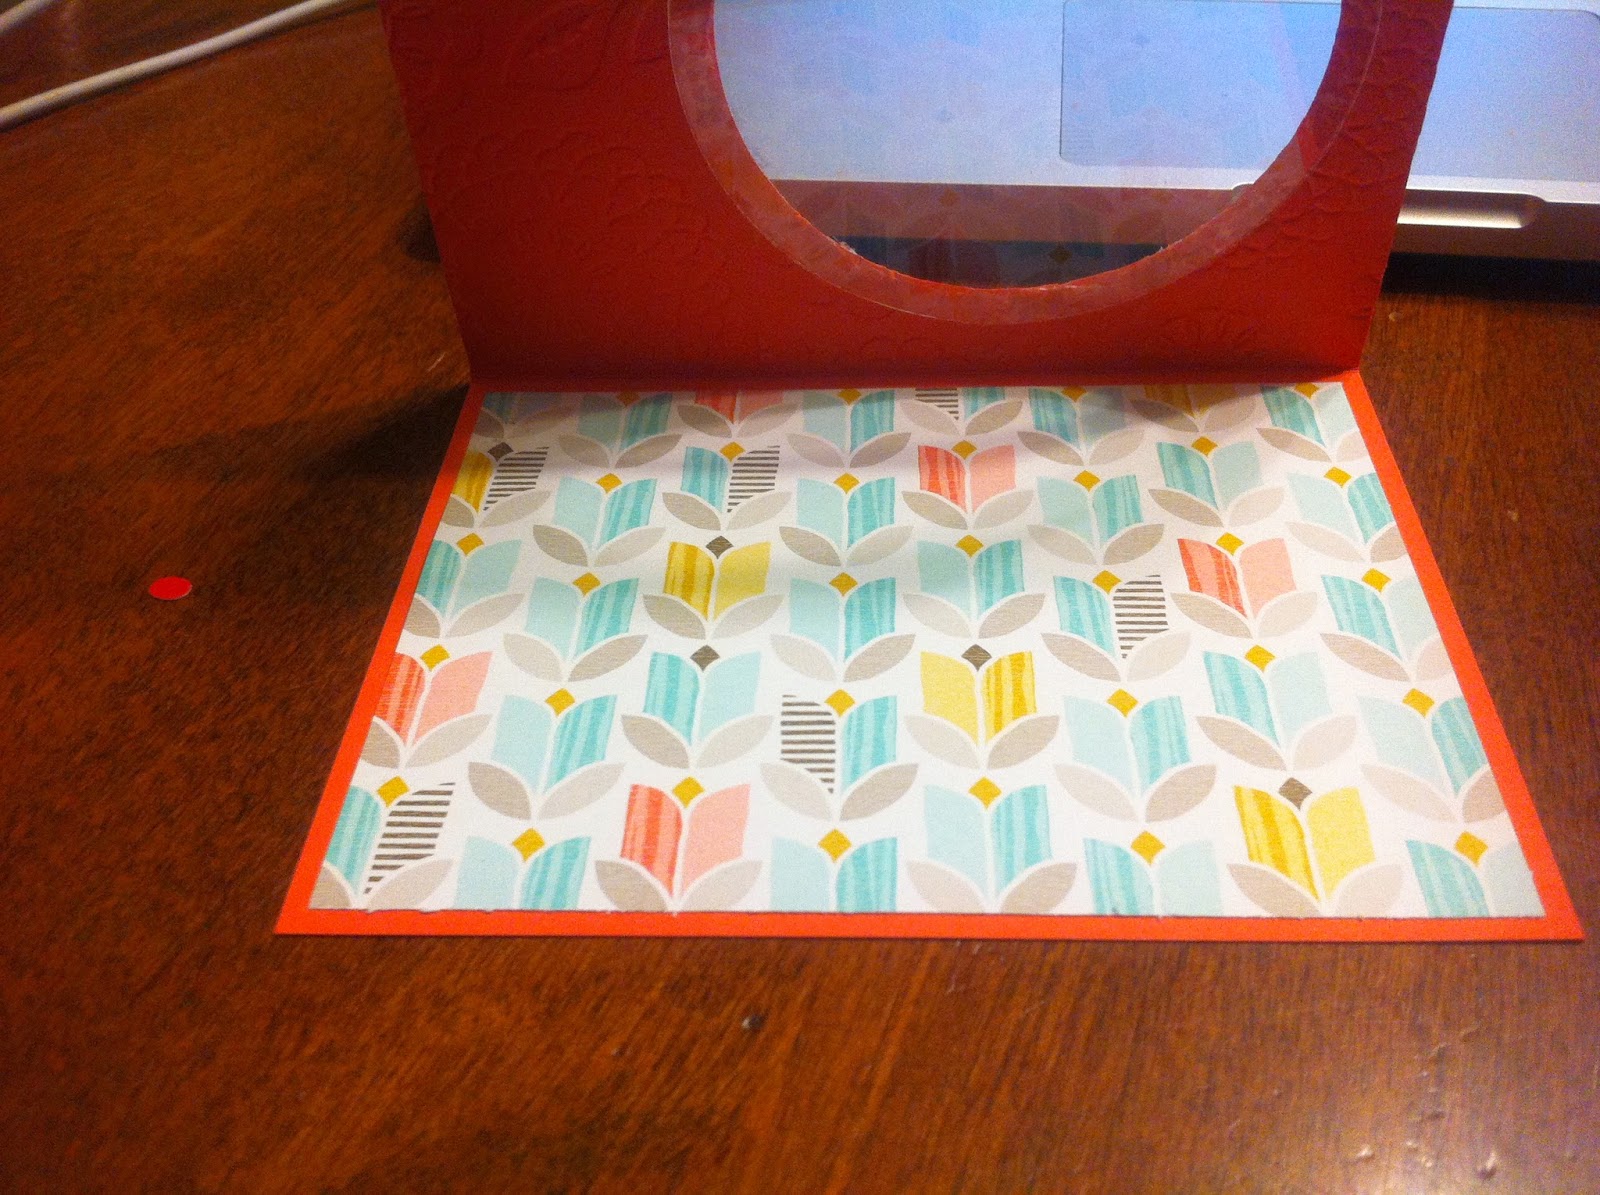
While browsing recently I came across the Floating Butterflies Video and I just had to try it. I didn't have some of the supplies she used in the video so I improvised.
I used my Big Shot and the 3 5/8" die from the Circles Collection Framelits to cut 2 circles out of a Window Sheet. I adhered one of this circles to the inside of the cut out circle shape in the card front.
The other window sheet circle I cut spirally.
I cut a 5 1/4 x 4 sheet of Best Year Ever DSP (a Sale-a-Bration item which is no longer available for purchase) and adhered it to the inside of the card base.
Sadly, I didn't take pictures of the rest of the process, so I just have to try to describe it to you.
I stamped a greeting inside using Baked Brown Sugar and one of the stamps from the Butterfly Basics stamp set.
I stamped the outside greeting on a 1 x 3 piece of whisper white cardstock using Coastal Cabana and one of the stamps from the Butterfly Basics stamp set. I made a mat for it out of a 1 1/4 x 3 1/4 piece of Crushed Curry. I rounded the corners of both pieces using the corner rounder on my Envelope Punch Board before adhering to two together then adhering them to the cardfront.
I put a glue dot, actually two glue dots, on the outside end of the spiral and adhered it to the outside edge of the back of the front of the card. Sounds confusing. I had to stop typing and go take a picture of the finished card to show you what I mean.
Then I lay the spiral flat on the card front and put a glue dot right in the center of it before closing the card so that the center stuck to the patterned paper inside the card. I wish I had taken a picture to show you, and it kind of hard to see it with the card all put together. If you watch the video I linked above you will understand.
I used my Big Shot and the smallest butterfly die from the Butterfly Thinlits to cut butterflies out of the Best Year Ever DSP.
I used glue dots to adhere the butterflies at different points along the spiral cut window sheet that was adhered to the card. When you open the card, the butterflies appear to fly.
I adhered one of the butterflies to the front of the card.
Today is my firstborn's birthday. He came into the world six weeks early at just barely six pounds, and now he's a strapping young man with a family of his own. I intended to give this card to him today for his birthday, but I forgot to take it with me when I went to visit him. I confessed in an earlier post that I'm not good with posting cards. Truth be known, I'm not good with giving them, period. I need to work on that.
Next, I sponged Wild Wasabi all over the trees. I didn't think it was making any difference but when I look at the pictures here I can see it definitely did.
I really didn't see any difference when I sponged some Old Olive over the bottom part of the trees, but Michelle had sponged two different shades of green so I decided to do the same.
Lastly, I smeared the Mossy Meadow ink pad across the very bottom. I liked it much better without that step, but it was too late now.
I decided to make my card a Birthday Card, so I stamped the sentiment with one of the stamps from the Butterfly Basics stamp set, once again using Mossy Meadow.
I really didn't like the bottom part of the design, so I decided to cover it up a bit by tying some Hello Honey twine, which was part of a Sale-a-Bration item, across the bottom.
I grabbed a few minutes today before cooking supper to make this card, copying the design on this shirt belonging to my granddaugther.
Yesterday, well late last night (in a post titled No Finished Product, But Inspired by a Shirt Design) I shared how I used my Big Shot and Butterflies Thinlits Dies to make stencils and experimented with filling in the stencils with different stamps. I still haven't used the materials I shared in that post on cards yet, but I got to thinking that just maybe the stamps in the Butterfly Basics stamp set would work, so I experimented. They worked! Here's some of the experimenting I did.
I used stamps from the Butterfly Basics stamp set for three of the butterflies on the card.
Oops! Looks like I forgot to take a picture after I stamped the butterfly with Pumpkin Pie and the honeycomb stamp from the Basic Butterflies stamp set. It's probably because I was frustrated because I had made a smear on the card with the blue. I'll tell you more about that in a bit.
For the last butterfly I decided to sponge the ink in the stencil for the last butterfly, to mimic the full coloured butterfly on the shirt.
Next I stamped the greeting.
Okay, back to the smear. Notice how the stamp pads are placed strategically in the same spot in each of the photos after I stamped with the blue? That's to cover up the lovely smear of blue ink I somehow managed to place there. I was so frustrated with myself! And I even had another little smear of blue where I stamped the greeting. I was tempted to throw the card out, but then I had an idea!
I decided to make the smear part of the design of the card. I dabbed a corner of a clear block in each of the colours and then touched them to the edges all around the card. Then I dabbed my finger on each of the colours and touched my finger lightly to the card here and there.
I have to say, I think it added to the card. It was kind of plain before I did that. I'm still thinking it needs a little something so I may add something to it yet.
This card was inspired by the beautiful, but simple, cards on Jennifer Talley's Meet the New In Colors blog post. I loved the cards in that post and had to C.A.S.E. them. I searched through my stamps for ones similar to the ones she used.
The card above is stamped with Rich Razzleberry using stamps from Butterfly Basics and Nature's Perfection (a stamp set that is no longer available). The butterfly was cut using the Big Shot and one of the Butterfly Thinlits Dies. While I used the Big Shot and die to cut out the butterfly, it could very easily be cut out with just scissors.
These are two of my favourite stamp sets at the moment. They are so versatile. With these two stamp sets you have stamps to cover birthdays, get well soon, sympathy, general thinking of you, and general wishes. And the images with them are beautiful. They have greetings that can be used both outside and inside the card. With white card stock, one ink colour, and either of these stamp sets you can make a lot of great cards.
The Ways To Use It challenge this past Thursday at SplitcoastStampers was to use a watercoloured background and the challenge contained links to a number of different technique tutorials and I just had to try a couple.Yesterday's post is about my attempt to try one of these tutorials. Today's post is about another one.
When the colours were all on, I misted it with water using the Stampin' Spritzer.
Then I pressed the cardstock down onto the embossing folder.
And Voila! this is how it turned out -
I left it to dry before moving it, but looking back now I think I probably should have soaked up the excess water with a paper towel because it pooled in a couple of places and looked a little wonky, but I managed to cover that with the design of the card when I put it together.