Jacqueline Hillier, Independent Stampin' Up! Demonstrator, Pasadena, Newfoundland, Canada
Showing posts with label Best Year Ever Designer series paper. Show all posts
Saturday, 16 May 2015
Fluttering Butterflies Birthday Card
So, it didn't come out quite like I had it pictured it my head, but it's not too bad. Don't forget to check out the video at the bottom to see the butterflies flutter out of the card when you open it.
While browsing recently I came across the Floating Butterflies Video and I just had to try it. I didn't have some of the supplies she used in the video so I improvised.
I made a card base by scoring an 8 1/2 by 5 1/2 piece of Calypso Coral at 4 1/4. I used my Big Shot and the 3 3/16 die from the Circles Collection Framelits to cut a hole in the card front.
I used my Texture Boutique and the Lovely Lace embossing folder to give texture to the card front.
I used my Big Shot and the 3 5/8" die from the Circles Collection Framelits to cut 2 circles out of a Window Sheet. I adhered one of this circles to the inside of the cut out circle shape in the card front.
The other window sheet circle I cut spirally.
I cut a 5 1/4 x 4 sheet of Best Year Ever DSP (a Sale-a-Bration item which is no longer available for purchase) and adhered it to the inside of the card base.
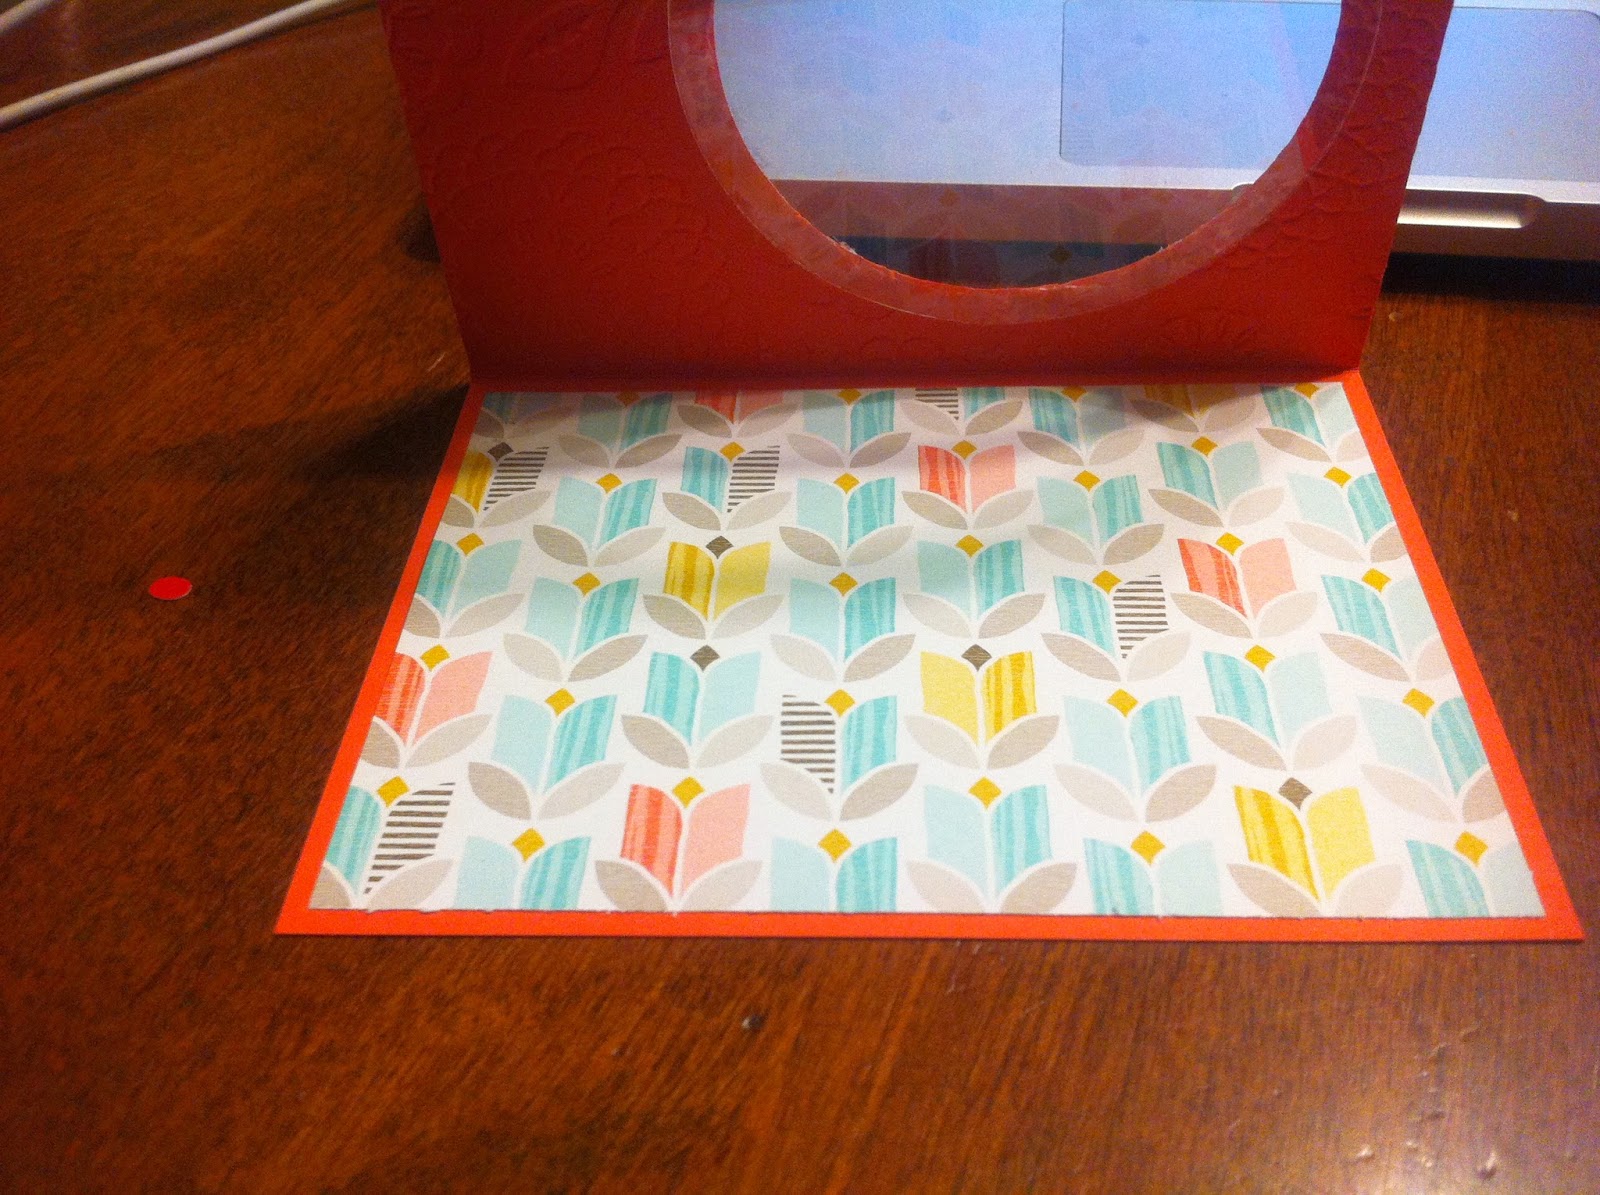
Sadly, I didn't take pictures of the rest of the process, so I just have to try to describe it to you.
I stamped a greeting inside using Baked Brown Sugar and one of the stamps from the Butterfly Basics stamp set.
I stamped the outside greeting on a 1 x 3 piece of whisper white cardstock using Coastal Cabana and one of the stamps from the Butterfly Basics stamp set. I made a mat for it out of a 1 1/4 x 3 1/4 piece of Crushed Curry. I rounded the corners of both pieces using the corner rounder on my Envelope Punch Board before adhering to two together then adhering them to the cardfront.
I put a glue dot, actually two glue dots, on the outside end of the spiral and adhered it to the outside edge of the back of the front of the card. Sounds confusing. I had to stop typing and go take a picture of the finished card to show you what I mean.
Then I lay the spiral flat on the card front and put a glue dot right in the center of it before closing the card so that the center stuck to the patterned paper inside the card. I wish I had taken a picture to show you, and it kind of hard to see it with the card all put together. If you watch the video I linked above you will understand.
I used my Big Shot and the smallest butterfly die from the Butterfly Thinlits to cut butterflies out of the Best Year Ever DSP.
I used glue dots to adhere the butterflies at different points along the spiral cut window sheet that was adhered to the card. When you open the card, the butterflies appear to fly.
I adhered one of the butterflies to the front of the card.
Here's a video showing how it looks opening up.
Friday, 15 May 2015
It's late...
...and I'm only just now starting to play. I have an idea in my mind, but who knows how it will turn out. Stay tuned!
Tuesday, 3 February 2015
Card inspired by Sale-a-Bration Product of the Week
The above card was inspired by one of the cards in the February 3, 2015 Sale-a-Bration Product of the Week project sample PDF.
I love the papers in the Best Year Ever Designer Series paper pack. You get 12 beautiful double sided 12x12 sheets. When I started gathering my materials to make the card I was disappointed to discover that while I had card stock in most of the colours listed to match the papers, I only had one of the ink pads listed, but to my delight I discovered that some of the colours I did have matched just fine.
I knew that the Best Day Ever Stamp set coordinated with the Best Year Ever Designer Series paper but I didn't realize how well until I went to stamp this card. I love how closely they match and can't wait to do another card with another of the papers and stamps to show case just how well they match. Both of these products, along with the Simply Wonderful stamp set that I also used in this project are not available for purchase but may be earned for free simply by purchasing other merchandise. They are featured in the Sale-a-Bration brochure and are only available until March 31. If you would like to know more, let me know.
I started by cutting an 8 1/2 by 11 piece of whisper white card stock in half so that I had an 8 1/2 by 5 1/2 piece to make my card base. I scored and folded this at 4 1/4.
I cut a 5 1/4 x 3 piece of patterned paper and stuck that to the card base.
I used a 2 x 2 1/2 piece of whisper white card stock to stamp my image on. It just so happened that I had this piece, already sponged around the edges with a mixture of crisp cantaloupe and blushing bride, in with my scraps from working on other projects. I love when I get to make use of my scraps! I stamped the images using crisp cantaloupe, hello honey, coastal cabana, and wild wasabi with stamps from the Best Day Ever stamp set.
I cut a 2 1/4 x 2 3/4 piece of soft suede card stock as a mat for the stamped image and adhered the two together before adhering them to the card. I stamped the greeting directly onto the whisper white card base in baked brown sugar using a stamp from the Simply Wonderful stamp set.
The inside of the card is stamped with the same colours as the front with stamps from the Best Day Ever Stamp set.
I'd love to see any creations you might make inspired by these cards.
These are the products I used to create my card:
If you are interested in trying out or purchasing any of these products, let me know.
Subscribe to:
Posts (Atom)


