Showing posts with label Texture Boutique. Show all posts

Tuesday, 19 May 2015

Ode to the Blue Morpho

Butterfly closed

The Blue Morpho

So bright and beautiful
when you are in flight,
but when you stop to rest
you disappear from sight

That's my lame attempt at an ode to the Blue Morpho.  I wanted to title this post Ode to the Blue Morpho so I felt the post should include a poem. That's the best I could come up with in a couple of minutes.

This card was inspired by the beautiful Blue Morpho butterfly, which we learned about at one of our favourite places to visit in the summer - the Butterfly House at the Newfoundland Insectarium. If you are ever in the area, you must go visit.

When we were visiting there a couple of years ago we were fascinated by these beautiful blue butterflies that were fluttering all around, but when we tried to get a sight of one pitched it was like it just disappeared. One of the employees explained to us that this is because one side of the butterfly's wings has this beautiful blue colour, but on the other side it is a molted brown colour. You can only see the blue when the butterfly is flying, because when it pitches it closes up its wings, showing only the molted brown side of the wings.

When I was making the butterfly decoration/stands that I shared in yesterday's post, I had to fold in half the butterflies that I cut using my Big Shot and the Butterfly Thinlits Dies. I really liked the look of the butterflies folded in half and decided I wanted to incorporate a folded butterfly into a card.

When I was playing with that idea I thought about the Blue Morpho and decided to attempt to make a butterfly similar to the Blue Morpho, brown on the outside, and blue inside. I cut the butterfly out of whisper white cardstock, laid it flat on a paper towel and sponged one side of it with Baked Brown Sugar and then flipped it over and sponged the other side of it with Tempting Turquoise. Then I went along the edges of the butterfly with my Early Espresso Stampin' Write Marker and coloured the body of the butterfly on both sides with the same colour.


I folded the butterfly in half and adhered just one wing to the card front, allowing the other wing to flap freely.

Butterfly Open

I would put this card in an envelope with the butterfly closed and then allow the butterfly to flap open when the card is taken out of the envelope.

The patterned paper on the card front is actually a piece that I made a while back when I was making the Flowers and Butterflies for a Card Swap. You will find directions on how I made it on the blog post linked in this paragraph. I made one more card front than I needed at that time so I tucked the extra one away to use another time, and I thought it worked perfectly for this card. I simply adhered the piece to a whisper white card base.


Saturday, 16 May 2015

Fluttering Butterflies Birthday Card


So, it didn't come out quite like I had it pictured it my head, but it's not too bad. Don't forget to check out the video at the bottom to see the butterflies flutter out of the card when you open it.

While browsing recently I came across the Floating Butterflies Video and I just had to try it. I didn't have some of the supplies she used in the video so I improvised.

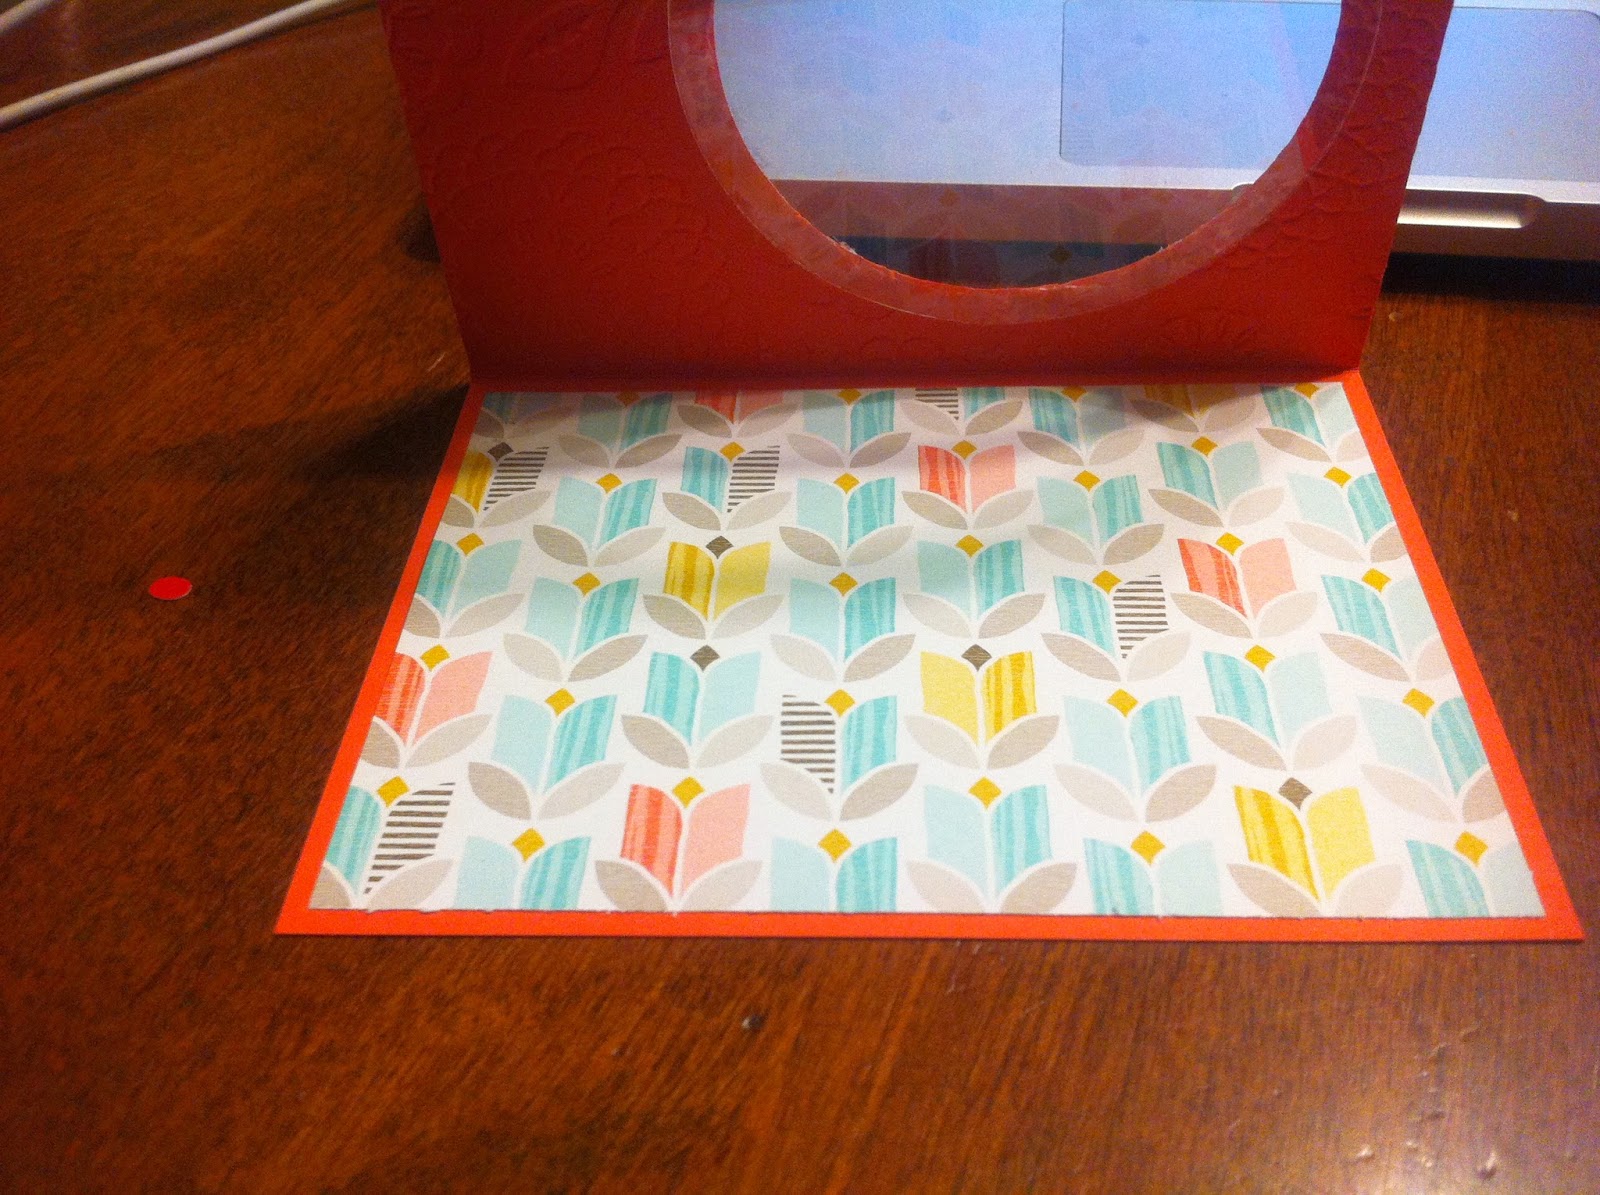
I made a card base by scoring an 8 1/2 by 5 1/2 piece of Calypso Coral at 4 1/4.  I used my Big Shot and the 3 3/16 die from the Circles Collection Framelits to cut a hole in the card front.


I used my Texture Boutique and the Lovely Lace embossing folder to give texture to the card front.


I used my Big Shot and the 3 5/8" die from the Circles Collection Framelits to cut 2 circles out of a Window Sheet. I adhered one of this circles to the inside of the cut out circle shape in the card front.


The other window sheet circle I cut spirally.


I cut a 5 1/4 x 4 sheet of Best Year Ever DSP (a Sale-a-Bration item which is no longer available for purchase) and adhered it to the inside of the card base.


Sadly, I didn't take pictures of the rest of the process, so I just have to try to describe it to you.

I stamped a greeting inside using Baked Brown Sugar and one of the stamps from the Butterfly Basics stamp set.

I stamped the outside greeting on a 1 x 3 piece of whisper white cardstock using Coastal Cabana and one of the stamps from the Butterfly Basics stamp set. I made a mat for it out of a 1 1/4 x 3 1/4 piece of Crushed Curry. I rounded the corners of both pieces using the corner rounder on my Envelope Punch Board before adhering to two together then adhering them to the cardfront.

I put a glue dot, actually two glue dots, on the outside end of the spiral and adhered it to the outside edge of the back of the front of the card. Sounds confusing.  I had to stop typing and go take a picture of the finished card to show you what I mean.


Then I lay the spiral flat on the card front and put a glue dot right in the center of it before closing the card so that the center stuck to the patterned paper inside the card.  I wish I had taken a picture to show you, and it kind of hard to see it with the card all put together. If you watch the video I linked above you will understand.

I used my Big Shot and the smallest butterfly die from the Butterfly Thinlits to cut butterflies out of the Best Year Ever DSP.


I used glue dots to adhere the butterflies at different points along the spiral cut window sheet that was adhered to the card. When you open the card, the butterflies appear to fly.


I adhered one of the butterflies to the front of the card.

Here's a video showing how it looks opening up.

Thursday, 14 May 2015

Faux Tin Happily Ever After


My almost double digits girl discovered acting this year and she is hooked. Last month she played two characters in a preformance called Happily Ever After, which was actually consisted of two plays - Cinderella and Sleeping Beauty - preformed back to back. She was thrilled to play the part of one of the evil stepsisters in Cinderella and one of the witch children in Sleeping Beauty. When she saw the card I made earlier with this stamp she brought to my attention that it was the title of her play, so I decided I'd make a card for her with it.

When I was exploring how to use the tin look on a card recently I had the notion that the filigree embossing folder would look cool in a tin look and this stamp would fit nicely in with it. I finally got to try it out today.

I started with a piece of cardstock that I had stamped a nice while back but it didn't turn out quite like I wanted it so I never did use it. It was the perfect piece to use.


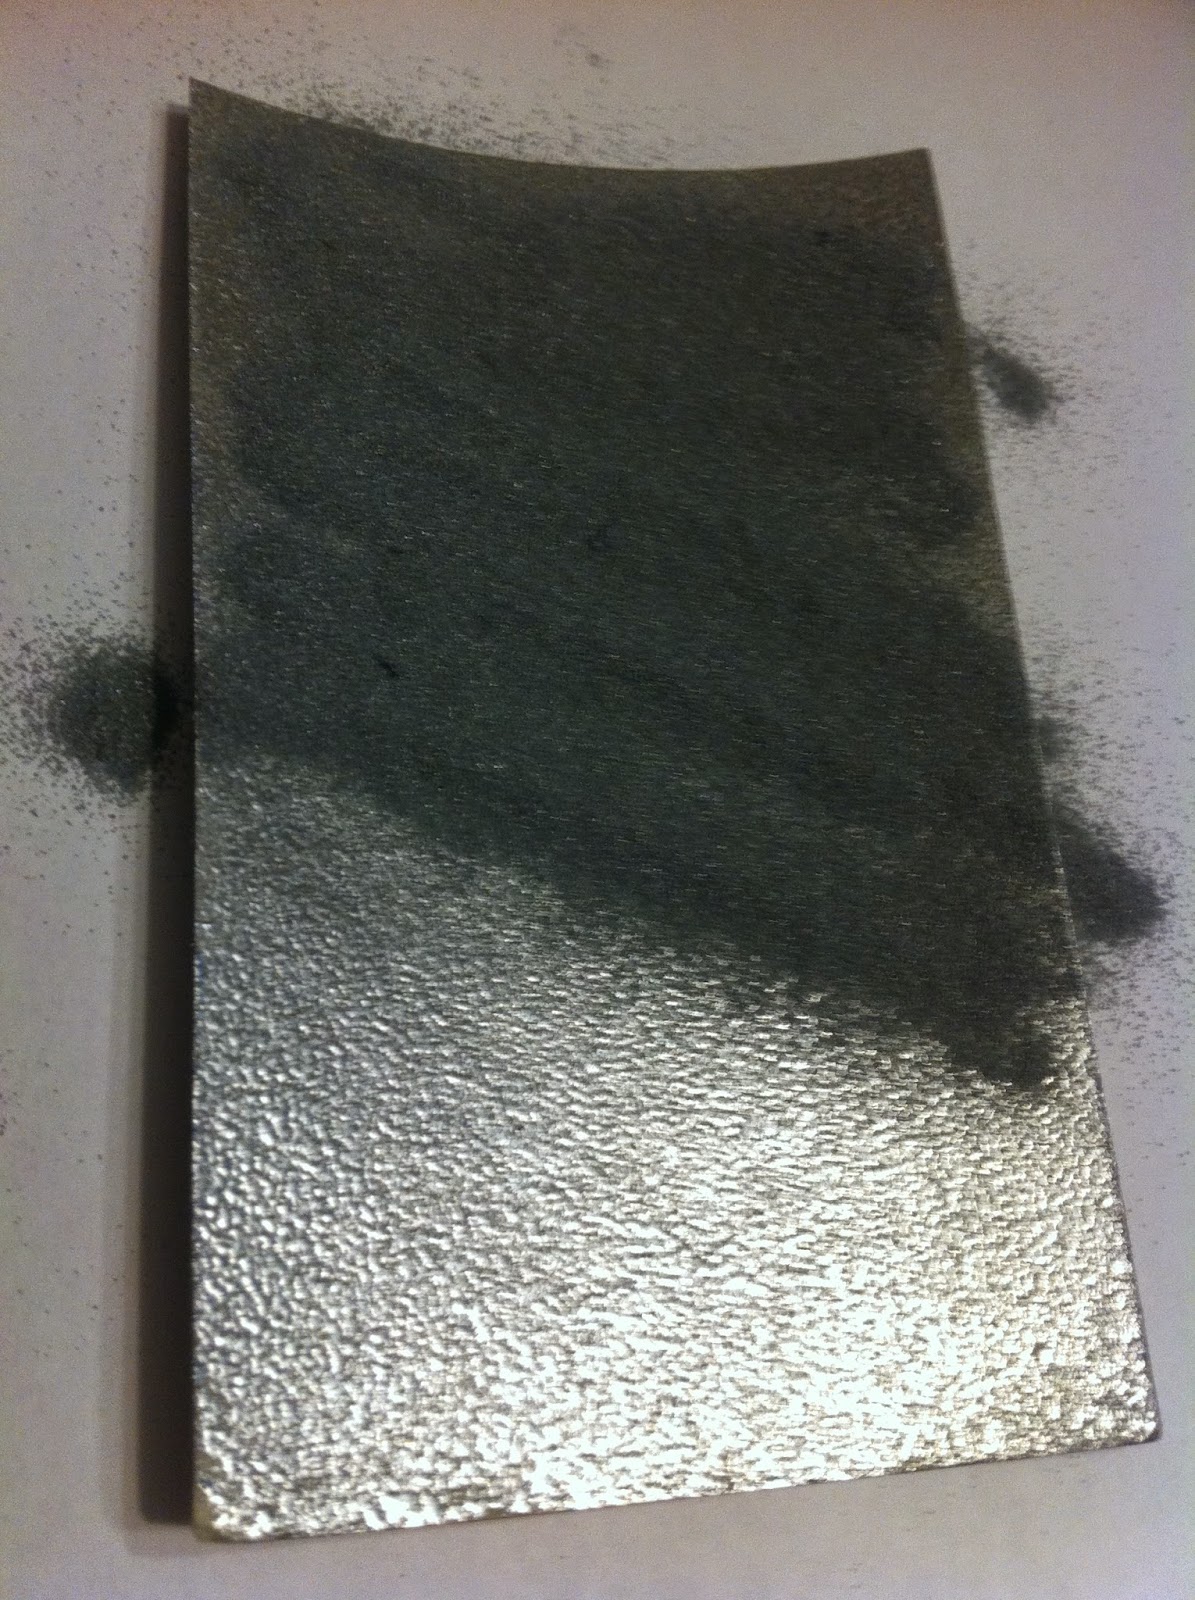
I smeared the VersaMark ink pad all over the card stock before sprinkling it with the Silver Embossing Powder. I probably could have done it on the stamped side, but I decided to use the other side of the cardstock.


I heated it with my Heat Tool, let it cool, and repeated again twice more.

I then stamped the greeting with VersaMark in the middle of the cardstock, using a stamp from the Big News stamp set. I sprinkled it with white embossing powder and shook off the excess. I had to use a paint brush to brush off a lot of powder that stayed on where it shouldn't have. I might not have had that problem if I had a Embossing Buddy. Still, it look pretty cool before I applied the heat to it.


When I heated it up with the Heat Tool however, it didn't quite look so good.


It was like the white sunk into the silver. I was so sad. However, when I looked at it from another angle, it didn't look quite so bad, but it still didn't stand out as much as I hoped it would.


Next I put the cardstock in my filigree embossing folder and put it through my Texture Boutique. Both the Texture Boutique and the Filigree Embossing Folder are on the retiring list and are on sale until they are all gone. I'd snatch them both up if I didn't already have them.


Tada!


Kinda cool!

I adhered the tin look plate to  grey card base. The look you get depends on the angle you look at it, but missy likes it, and that's all that matters.


Wednesday, 13 May 2015

Making tin is hard work


Okay, so it's not real tin, and it's not real hard, when you have the right tools. I was playing with my heat tool and silver embossing powder last night, trying my hand at making some faux tin tiles.

A little while back SplitcoastStampers posted a Faux Tin Tiles Tutorial. I thought it was interesting but I didn't have a lot of what they used so I went searching for another way to do it. That's when I found Diana Gibbs post Technique Lover's Class - Faux Metal Tin Ceiling. Unfortunately the link for the video in her blog post doesn't work, but I found it on Youtube - Faux Metal Tin Ceiling Tutorial with Diana Gibbs.  I had everything I needed to make the tin tiles this way so I tried it out last night.

First I took a piece of cardstock and rubbed my VersaMark all over it to cover the whole thing with VersaMark.


It really doesn't matter what cardstock you use because it's going to be completely covered in the end anyway so it is a great way to use up pieces of cardstock that you may have ruined or didn't turn out like you hoped. The size depends on how many tiles you want and the size of your tiles. I used a 5x3 piece of cardstock here.

Once it was all inked up, I sprinkled Silver embossing powder all over it until it was completely covered, and then shook off the excess.


Then I melted the embossing powder onto the paper using my Heat Tool. I love watching it change colour as it melts.


Once it was all melted I let it cool a bit before smearing it all over with VersaMark again and covering it with the embossing powder again.


When it was all covered, I shook off the excess, before heating it again with my Heat Tool. This is what it looked like in the end.


Because I didn't have the punch the Diana used, I used my Stampin' Trimmer to cut it into 1" strips...


...and then into 1" squares


Then I used one of my embossing folders and my Texture Boutique to emboss the squares.


Here's what they looked like after


I was hoping to do something with them today but I didn't get a chance to. Hopefully soon, but I don't know for sure because I had a couple of ideas on how to do something a little different, so I may have to try out my other ideas first. We'll see.

Tuesday, 14 April 2015

Flowers and Butterflies for a Card Swap


Tonight is the last class for the monthly card class group that I joined months ago when I was first introduced to Stampin' Up! and we are having a card swap. These are the cards I made for the swap.

I cut 4 x 5 1/4 pieces of Very Vanilla Card stock and stamped them with the greeting from the Butterfly Basics stamp set using Baked Brown Sugar.


Then I embossed each one using the Texture Boutique and the Lovely Lace embossing folder.


When they were all embossed I started sponging. I sponged the leaves with Pistachio Pudding on all of them.


Next I started sponging the flowers, a different colour on each card front.


I didn't have classic ink pads for a couple of the colours that I decided to use but I did have ink spots from Paper Pumpkin kits I had received. I decided to try something a little different with them and instead of sponging the colour on with them, I simply swiped the ink spot across the cardstock to apply the ink.


This method resulted in a clearer, crisper look. You can compare the different results of the two methods in the next picture. The top two were sponged giving them a softer, subtle look, but the ink was applied to the bottom two by swiping the ink spot across the cardstock. I waffle back and forth between which I like better.


Here are all the card fronts ready for the next step.


Next I adhered each card front to a Very Vanilla cardbase.


The cards could be left just like that, but I decided to add another feature. I got out my Big Shot and one of the dies from the Butterfly Thinlits Dies and cut a butterfly for each card out of Very Vanilla cardstock.


I adhered the butterflies on the cards and added a touch of glitter to the butterfly bodies with Dazzling Details.


Here are the finished cards with the ink pads I used for them