Showing posts with label Lovely Lace Embossing Folder. Show all posts

Thursday, 18 June 2015

All Kinds of Embossing


This card was inspired by the Tuesday With the Team: A Watercolour Card post on the Canadian Scrapbooker Blog this week. I loved the look of the card on that post and decided to try to recreate it with my own twists. I love the watercolour technique used for the focal point on the card and I had a new stamp that I thought would work perfect for it.

I cut a 3 1/2 x 3 1/2 piece of Watercolour Paper and stamped it with the flower from the Best Thoughts stamp set using VersaMark. I then sprinkled it with White Emboss Powder and set the powder with my Heat Tool. It's hard to see the image on the paper but it's there.

Then I used a paint brush, water, and ink pads to colour the image. I squeezed my ink pads before opening them to get a little ink on the inside cover and then used my paint brush to mix a bit of water in with the ink to use to watercolour. Someday I'm hoping to get the Aqua Painters for this, but my paint brush works for now. I used two of the 2014-2016 In Colours, Mossy Meadow and Lost Lagoon, and two of the 2015-2017 In Colours, Watermelon Wonder and Delightful Dijon.


I cut a 8 x 5 1/2 piece of Watermelon Wonder card stock and scored it at 4 1/4 to make a 5 1/2 x 4 1/4 card base. I stamped a greeting from the Best Thoughts stamp set onto the card front using VersaMark. I then sprinkled it with White Emboss Powder and set the powder with my Heat Tool.


Then I embossed the card front with the Lovely Lace Embossing folder using my Big Shot. I stamped and heat embossed the greeting before using the embossing folder because it would have been harder to get a clean, clear stamp and heat embossing on top of the textured surface created by the embossing folder.

Before adhering the watercolour piece to the card, I ran all of the outer edges of the piece over the VersaMark ink pad and then dipped each edge in the White Emboss Powder and set the powder with my Heat Tool. This gave the piece a nice finishing edge all the way around. I adhered the watercolour piece to the card front with Stampin' Dimensionals.

The Best Thoughts stamp set I used on this card is one of five special stamp sets that are exclusively available for purchase by those that host a Stampin' Up! party. You can see all five of the Exclusive stamp sets on pages 179-181 of the 2015-2016 Annual Catalogue.


If you would like to host a party and become eligible to purchase either one of these beautiful sets, let me know and we'll set up a party. All you have to do is invite your friends and provide a snack. I'll do the rest. We could even make this card at your party. I'd love to hear from you.


Tuesday, 16 June 2015

A card for the artsy type


This is definitely not a card that would appeal to everyone, but I do think there are people it will appeal to. It has a definite artsy/grungy look. It is the result of a few inspirations all mixed together.

The focal point of this card was created way back in April when I did the Watercolours Ways to Use It Challenge Part Two: Embossing Folder Stamping. For the card featured in that post I used one side of the embossing but I also decided to try the same technique on the other side of the embossing folder, but I just used regular card stock instead of watercolour paper. The card stock curled and twisted and didn't lay flat so I just laid it aside thinking I might find a use for it some day because I did think it was kind of cool. Today was the day.

Way back in April I used my sponges to add colour to the Lovely Lace TIEF. Then I misted the folder with my water using my Stampin' Spritzer before pressing the 4 3/4 x 3 1/2 piece of Whisper White card stock on top of it. When it was dry I stamped the greeting using a stamp from the Butterfly Basics stamp set. I laid it aside in my scrap box until I picked it up today.

I liked the little rumpled look of it and decided I didn't want to try to flatten it so I adhered it to a 5 x 3 3/4 piece of Crisp Canteloupe in such a way that it retained it's rumpled look.

When I got that done I remember that there was a challenge on SpiltcoastStampers recently that involved rolling the edges of papers on a card. It was the Try a New Technique Challenge the week of June 8th. I decided to try that technique on this card. First I rolled the edges around a pencil but I wanted the roll to be tighter so I tried the skinny end of a paint brush. That looked a little better.

I adhered the matted piece to a 4 1/4 x 5 1/2 card base and inked the edges of the card base with my sponge a little with Crisp Canteloupe and Blushing Bride.

As I said, it's not a card for everyone, but someone would definitely appreciate it.

Tuesday, 19 May 2015

Ode to the Blue Morpho

Butterfly closed

The Blue Morpho

So bright and beautiful
when you are in flight,
but when you stop to rest
you disappear from sight

That's my lame attempt at an ode to the Blue Morpho.  I wanted to title this post Ode to the Blue Morpho so I felt the post should include a poem. That's the best I could come up with in a couple of minutes.

This card was inspired by the beautiful Blue Morpho butterfly, which we learned about at one of our favourite places to visit in the summer - the Butterfly House at the Newfoundland Insectarium. If you are ever in the area, you must go visit.

When we were visiting there a couple of years ago we were fascinated by these beautiful blue butterflies that were fluttering all around, but when we tried to get a sight of one pitched it was like it just disappeared. One of the employees explained to us that this is because one side of the butterfly's wings has this beautiful blue colour, but on the other side it is a molted brown colour. You can only see the blue when the butterfly is flying, because when it pitches it closes up its wings, showing only the molted brown side of the wings.

When I was making the butterfly decoration/stands that I shared in yesterday's post, I had to fold in half the butterflies that I cut using my Big Shot and the Butterfly Thinlits Dies. I really liked the look of the butterflies folded in half and decided I wanted to incorporate a folded butterfly into a card.

When I was playing with that idea I thought about the Blue Morpho and decided to attempt to make a butterfly similar to the Blue Morpho, brown on the outside, and blue inside. I cut the butterfly out of whisper white cardstock, laid it flat on a paper towel and sponged one side of it with Baked Brown Sugar and then flipped it over and sponged the other side of it with Tempting Turquoise. Then I went along the edges of the butterfly with my Early Espresso Stampin' Write Marker and coloured the body of the butterfly on both sides with the same colour.


I folded the butterfly in half and adhered just one wing to the card front, allowing the other wing to flap freely.

Butterfly Open

I would put this card in an envelope with the butterfly closed and then allow the butterfly to flap open when the card is taken out of the envelope.

The patterned paper on the card front is actually a piece that I made a while back when I was making the Flowers and Butterflies for a Card Swap. You will find directions on how I made it on the blog post linked in this paragraph. I made one more card front than I needed at that time so I tucked the extra one away to use another time, and I thought it worked perfectly for this card. I simply adhered the piece to a whisper white card base.


Saturday, 16 May 2015

Fluttering Butterflies Birthday Card


So, it didn't come out quite like I had it pictured it my head, but it's not too bad. Don't forget to check out the video at the bottom to see the butterflies flutter out of the card when you open it.

While browsing recently I came across the Floating Butterflies Video and I just had to try it. I didn't have some of the supplies she used in the video so I improvised.

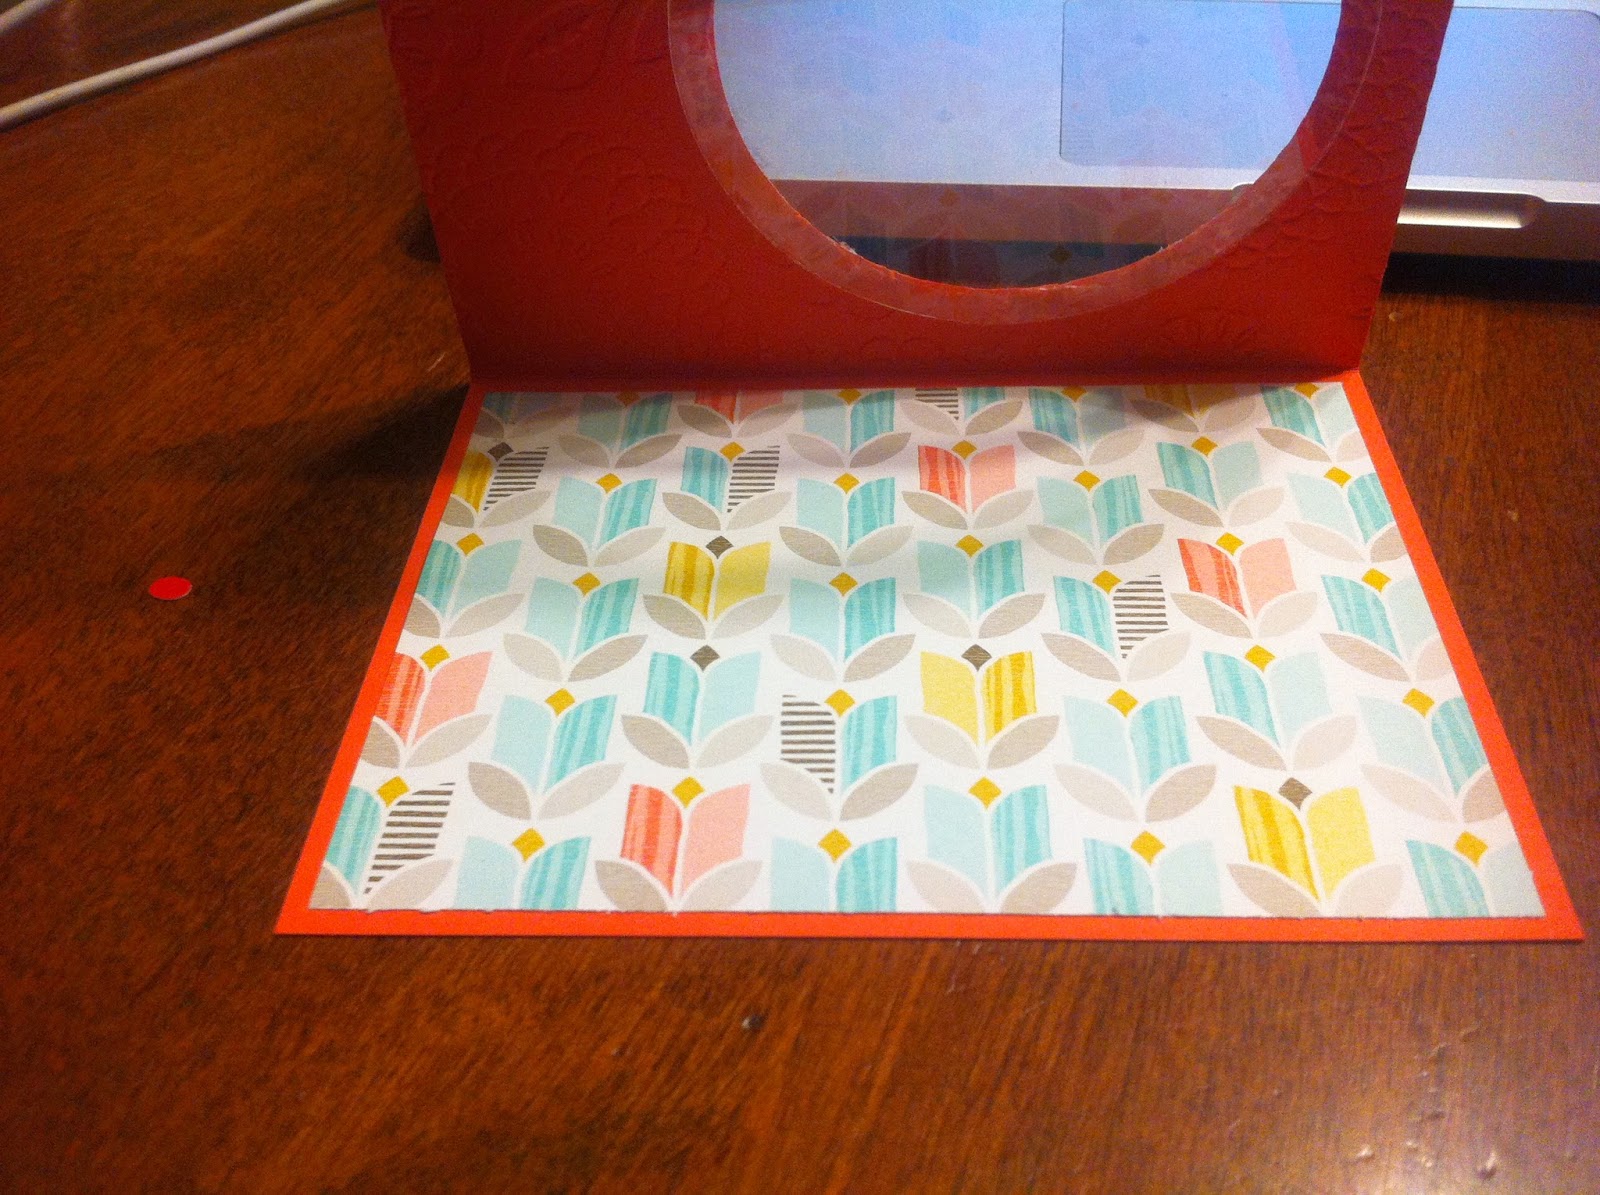
I made a card base by scoring an 8 1/2 by 5 1/2 piece of Calypso Coral at 4 1/4.  I used my Big Shot and the 3 3/16 die from the Circles Collection Framelits to cut a hole in the card front.


I used my Texture Boutique and the Lovely Lace embossing folder to give texture to the card front.


I used my Big Shot and the 3 5/8" die from the Circles Collection Framelits to cut 2 circles out of a Window Sheet. I adhered one of this circles to the inside of the cut out circle shape in the card front.


The other window sheet circle I cut spirally.


I cut a 5 1/4 x 4 sheet of Best Year Ever DSP (a Sale-a-Bration item which is no longer available for purchase) and adhered it to the inside of the card base.


Sadly, I didn't take pictures of the rest of the process, so I just have to try to describe it to you.

I stamped a greeting inside using Baked Brown Sugar and one of the stamps from the Butterfly Basics stamp set.

I stamped the outside greeting on a 1 x 3 piece of whisper white cardstock using Coastal Cabana and one of the stamps from the Butterfly Basics stamp set. I made a mat for it out of a 1 1/4 x 3 1/4 piece of Crushed Curry. I rounded the corners of both pieces using the corner rounder on my Envelope Punch Board before adhering to two together then adhering them to the cardfront.

I put a glue dot, actually two glue dots, on the outside end of the spiral and adhered it to the outside edge of the back of the front of the card. Sounds confusing.  I had to stop typing and go take a picture of the finished card to show you what I mean.


Then I lay the spiral flat on the card front and put a glue dot right in the center of it before closing the card so that the center stuck to the patterned paper inside the card.  I wish I had taken a picture to show you, and it kind of hard to see it with the card all put together. If you watch the video I linked above you will understand.

I used my Big Shot and the smallest butterfly die from the Butterfly Thinlits to cut butterflies out of the Best Year Ever DSP.


I used glue dots to adhere the butterflies at different points along the spiral cut window sheet that was adhered to the card. When you open the card, the butterflies appear to fly.


I adhered one of the butterflies to the front of the card.

Here's a video showing how it looks opening up.