Showing posts with label heat embossing. Show all posts

Thursday, 18 June 2015

All Kinds of Embossing


This card was inspired by the Tuesday With the Team: A Watercolour Card post on the Canadian Scrapbooker Blog this week. I loved the look of the card on that post and decided to try to recreate it with my own twists. I love the watercolour technique used for the focal point on the card and I had a new stamp that I thought would work perfect for it.

I cut a 3 1/2 x 3 1/2 piece of Watercolour Paper and stamped it with the flower from the Best Thoughts stamp set using VersaMark. I then sprinkled it with White Emboss Powder and set the powder with my Heat Tool. It's hard to see the image on the paper but it's there.

Then I used a paint brush, water, and ink pads to colour the image. I squeezed my ink pads before opening them to get a little ink on the inside cover and then used my paint brush to mix a bit of water in with the ink to use to watercolour. Someday I'm hoping to get the Aqua Painters for this, but my paint brush works for now. I used two of the 2014-2016 In Colours, Mossy Meadow and Lost Lagoon, and two of the 2015-2017 In Colours, Watermelon Wonder and Delightful Dijon.


I cut a 8 x 5 1/2 piece of Watermelon Wonder card stock and scored it at 4 1/4 to make a 5 1/2 x 4 1/4 card base. I stamped a greeting from the Best Thoughts stamp set onto the card front using VersaMark. I then sprinkled it with White Emboss Powder and set the powder with my Heat Tool.


Then I embossed the card front with the Lovely Lace Embossing folder using my Big Shot. I stamped and heat embossed the greeting before using the embossing folder because it would have been harder to get a clean, clear stamp and heat embossing on top of the textured surface created by the embossing folder.

Before adhering the watercolour piece to the card, I ran all of the outer edges of the piece over the VersaMark ink pad and then dipped each edge in the White Emboss Powder and set the powder with my Heat Tool. This gave the piece a nice finishing edge all the way around. I adhered the watercolour piece to the card front with Stampin' Dimensionals.

The Best Thoughts stamp set I used on this card is one of five special stamp sets that are exclusively available for purchase by those that host a Stampin' Up! party. You can see all five of the Exclusive stamp sets on pages 179-181 of the 2015-2016 Annual Catalogue.


If you would like to host a party and become eligible to purchase either one of these beautiful sets, let me know and we'll set up a party. All you have to do is invite your friends and provide a snack. I'll do the rest. We could even make this card at your party. I'd love to hear from you.

Friday, 29 May 2015

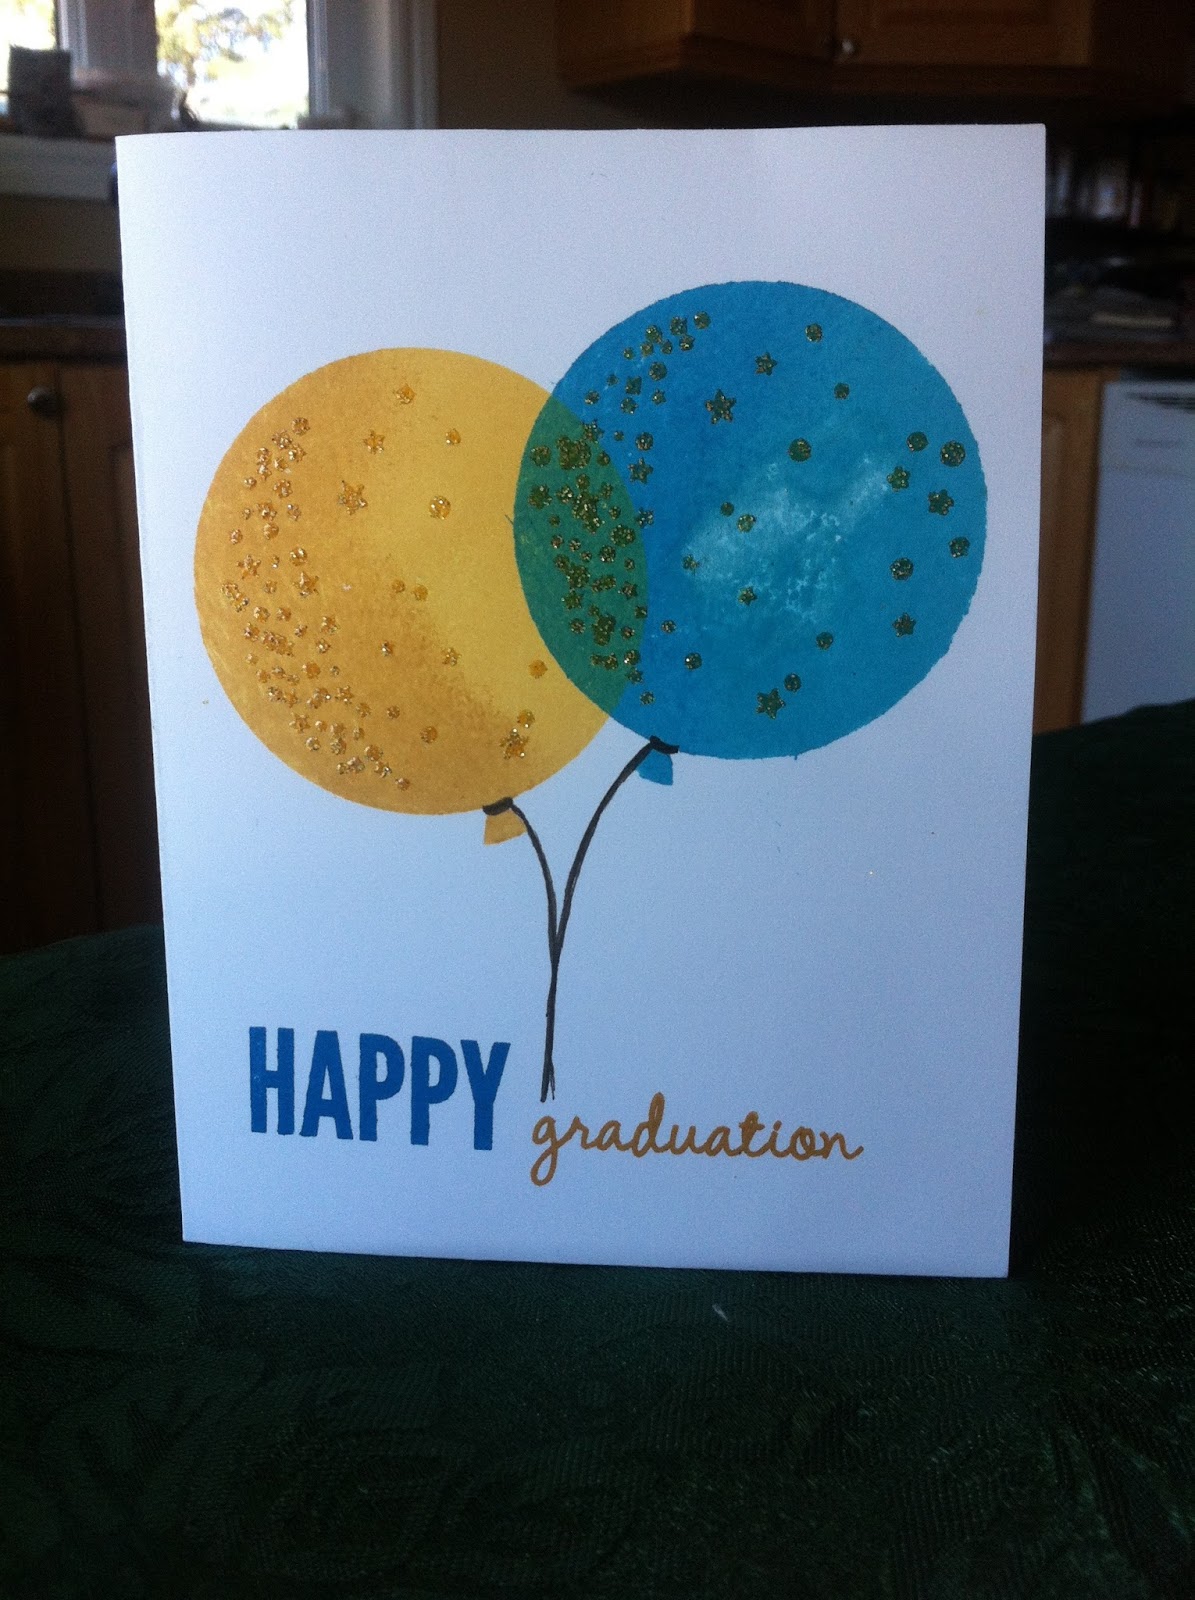
Graduation Celebration card


A simple one layer card created using stamps from the Celebrate Today stamp set.

The balloon were stamped two tone by inking the stamp first with the lighter colour and then sponging on a touch of the darker colour before stamping.

The stars on the balloon were stamped with Versamark and then sprinkled with Gold Emboss powder before heating with the heat tool.

Thursday, 28 May 2015

Watercolour with markers and water


Today I made use of another of the Works in Progress I posted about a little while back. I showed how I used the first one in my Waste not, want not post.

As I explained in my Works in Progress post, the focal point of this card was inspired by Heather Telford's Distress Stain Watercolour tutorial at SplitcoastStampers. I didn't have the stains, markers, or paper that she used in her tutorial, but I decided to try her techniques with the supplies that I had.

I started with a piece of Stampin' Up! Watercolour Paper. I used Stampin' Write Markers to ink up one of the stamps in the Butterfly Basics by colouring right onto the stamp. Then, before stamping on the watercolour paper, I gave the stamp a few sprays of water with my Stampin' Spritzer.

I cut the Watercolour Paper to 3 x 5 and scored it 1/4" all around to give it a little added punch.

I cut a 5 1/4 x 3 1/4 mat of Midnight Muse card stock and adhered the watercolour to it.

I created a 5 1/2 x 4 1/4 Summer Starfruit card base by cutting a 5 1/2 x 8 1/2 piece and then scoring and folding it at 4 1/4. I adhered the matted watercolour to the card base.

I cut a 1 1/2 x 4 1/4 piece of Window Sheet and stamped a greeting from the All Shook Up Paper Pumpkin kit onto it with VersaMark. Then I sprinkled that with Gold Emboss powder before heating it with my Heat Tool. I adhere this to the card by hiding Mini Glue Dots under the letters and putting a little strip of Snail down the right side of the window sheet and down the middle where I knew the ribbon would cover it on the left.

I cut a 6" piece of ribbon, wrapped it around and adhered it inside the card with snail. I cut a 3" piece of ribbon and tied it in a knot on the ribbon at the front of the card.

The ribbon, markers, and card stock I used on this card are all from the 2012-2014 In-Colour Collection and are no longer available but you can find similar colours in the other Colour Collections.

Because the All Shook Up Paper Pumpkin kit is a past it it is now only available to current subscribers. One of the perks of being a Paper Pumpkin Subscriber is that you can purchase past kits. Now is a great time to become a Paper Pumpkin Subscriber. Until June 10 new subscribers get their first two kits for half price! You can not get the All Shook Up kit for half price but you can get the upcoming June and July kits for half price, and then order the All Shook Up kit for full price. Join Now!

Thursday, 14 May 2015

Faux Tin Happily Ever After


My almost double digits girl discovered acting this year and she is hooked. Last month she played two characters in a preformance called Happily Ever After, which was actually consisted of two plays - Cinderella and Sleeping Beauty - preformed back to back. She was thrilled to play the part of one of the evil stepsisters in Cinderella and one of the witch children in Sleeping Beauty. When she saw the card I made earlier with this stamp she brought to my attention that it was the title of her play, so I decided I'd make a card for her with it.

When I was exploring how to use the tin look on a card recently I had the notion that the filigree embossing folder would look cool in a tin look and this stamp would fit nicely in with it. I finally got to try it out today.

I started with a piece of cardstock that I had stamped a nice while back but it didn't turn out quite like I wanted it so I never did use it. It was the perfect piece to use.


I smeared the VersaMark ink pad all over the card stock before sprinkling it with the Silver Embossing Powder. I probably could have done it on the stamped side, but I decided to use the other side of the cardstock.


I heated it with my Heat Tool, let it cool, and repeated again twice more.

I then stamped the greeting with VersaMark in the middle of the cardstock, using a stamp from the Big News stamp set. I sprinkled it with white embossing powder and shook off the excess. I had to use a paint brush to brush off a lot of powder that stayed on where it shouldn't have. I might not have had that problem if I had a Embossing Buddy. Still, it look pretty cool before I applied the heat to it.


When I heated it up with the Heat Tool however, it didn't quite look so good.


It was like the white sunk into the silver. I was so sad. However, when I looked at it from another angle, it didn't look quite so bad, but it still didn't stand out as much as I hoped it would.


Next I put the cardstock in my filigree embossing folder and put it through my Texture Boutique. Both the Texture Boutique and the Filigree Embossing Folder are on the retiring list and are on sale until they are all gone. I'd snatch them both up if I didn't already have them.


Tada!


Kinda cool!

I adhered the tin look plate to  grey card base. The look you get depends on the angle you look at it, but missy likes it, and that's all that matters.


Wednesday, 13 May 2015

Making tin is hard work


Okay, so it's not real tin, and it's not real hard, when you have the right tools. I was playing with my heat tool and silver embossing powder last night, trying my hand at making some faux tin tiles.

A little while back SplitcoastStampers posted a Faux Tin Tiles Tutorial. I thought it was interesting but I didn't have a lot of what they used so I went searching for another way to do it. That's when I found Diana Gibbs post Technique Lover's Class - Faux Metal Tin Ceiling. Unfortunately the link for the video in her blog post doesn't work, but I found it on Youtube - Faux Metal Tin Ceiling Tutorial with Diana Gibbs.  I had everything I needed to make the tin tiles this way so I tried it out last night.

First I took a piece of cardstock and rubbed my VersaMark all over it to cover the whole thing with VersaMark.


It really doesn't matter what cardstock you use because it's going to be completely covered in the end anyway so it is a great way to use up pieces of cardstock that you may have ruined or didn't turn out like you hoped. The size depends on how many tiles you want and the size of your tiles. I used a 5x3 piece of cardstock here.

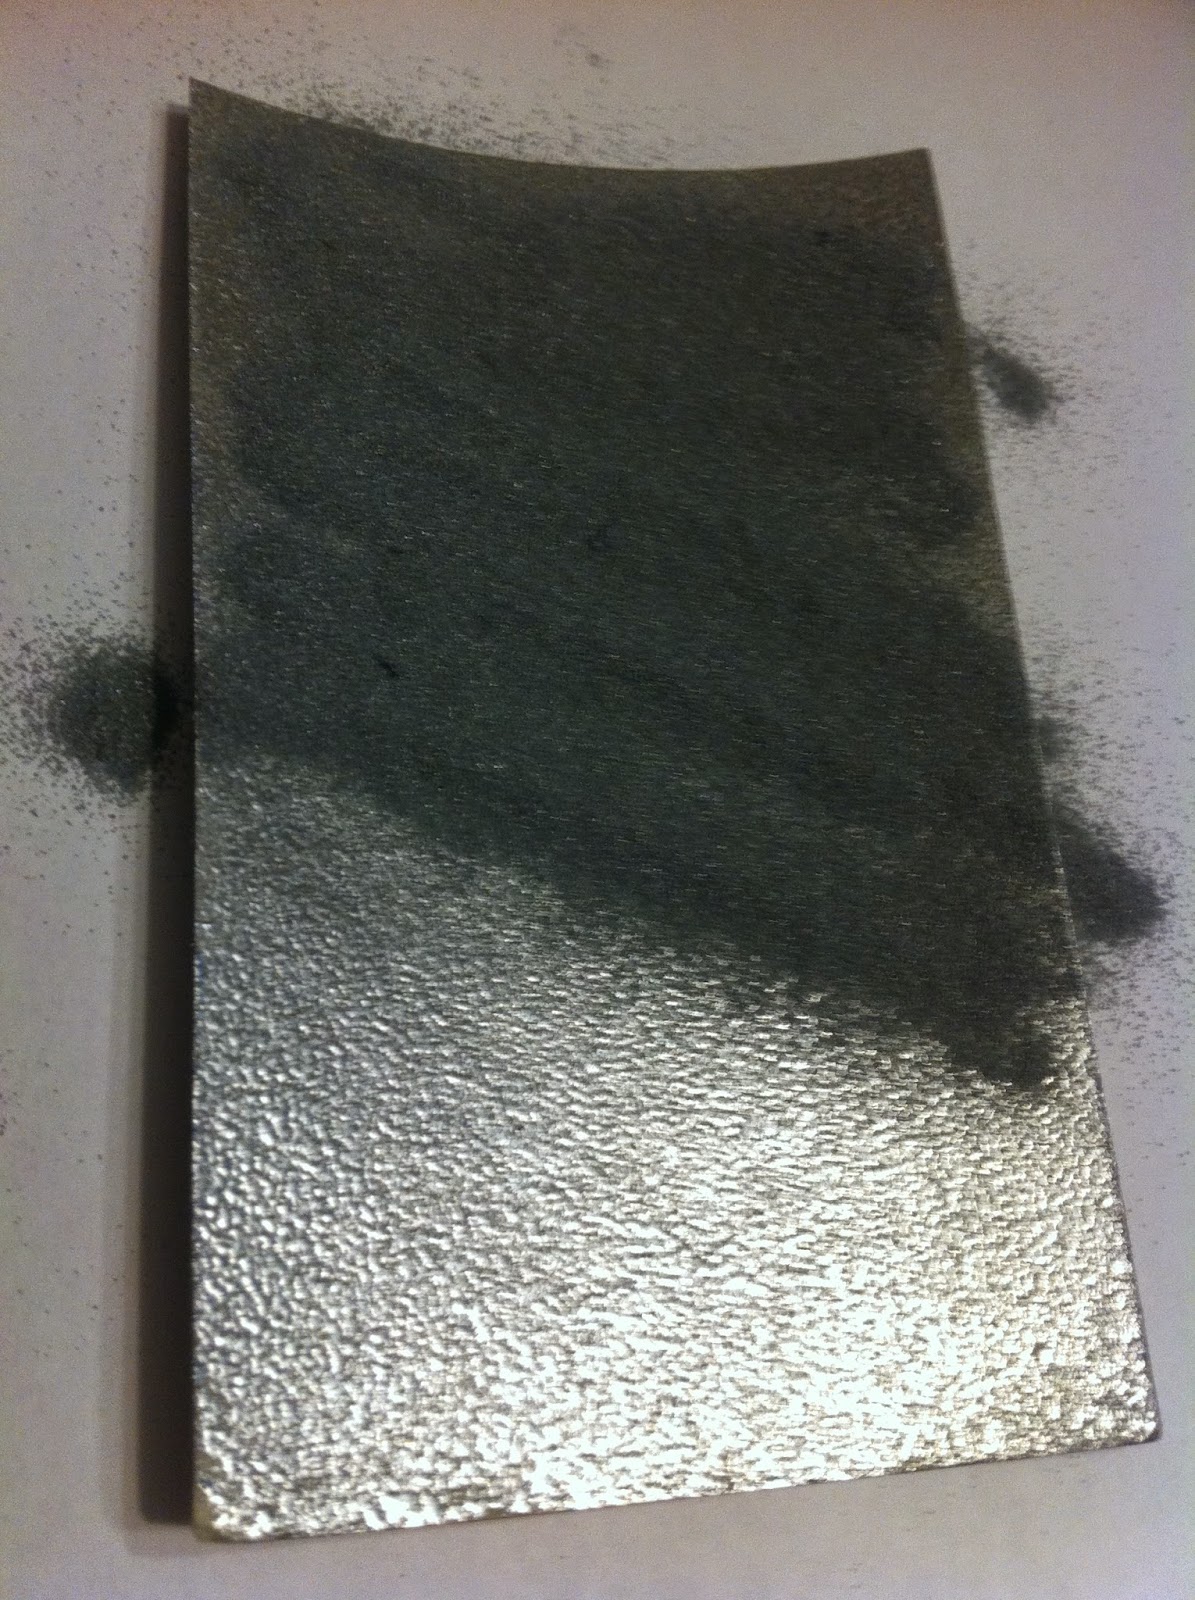
Once it was all inked up, I sprinkled Silver embossing powder all over it until it was completely covered, and then shook off the excess.


Then I melted the embossing powder onto the paper using my Heat Tool. I love watching it change colour as it melts.


Once it was all melted I let it cool a bit before smearing it all over with VersaMark again and covering it with the embossing powder again.


When it was all covered, I shook off the excess, before heating it again with my Heat Tool. This is what it looked like in the end.


Because I didn't have the punch the Diana used, I used my Stampin' Trimmer to cut it into 1" strips...


...and then into 1" squares


Then I used one of my embossing folders and my Texture Boutique to emboss the squares.


Here's what they looked like after


I was hoping to do something with them today but I didn't get a chance to. Hopefully soon, but I don't know for sure because I had a couple of ideas on how to do something a little different, so I may have to try out my other ideas first. We'll see.

Friday, 24 April 2015

My Stamping Buddy bails me out on a busy day


This beautiful card was created by my Stampin' Buddy when she was over to my place stampin' recently. It was inspired by Kylie Bertucci's card in her Natures Perfection Stamp Set - Saleabration post

The card base was made with Basic Black card stock. the images are stamped on a piece of whisper white cardstock that is matted on a piece of blue/green cardstock, but I can't remember the exact colour she used.

The stamps used are from the Nature's Perfection stamp set, a Sale-a-bration item that is no longer available for purchase. Sadly, I don't remember what colours she used for the stamping or colouring, but I do remember that she used a blender pen to do the colouring on the big flower.

The greeting, one of the stamps from the Simply Wonderful stamp set (another Sale-a-bration item no longer available for purchase), was stamped with VersaMark and then sprinkled with White Emboss Powder and heated with the Heat Tool.

I love this card and think I'm going to have to make one myself when life slows down again. This is a crazy weekend for us as it's show time for Anna. The past month has been full of rehearsals for Happily Ever After and I finally get to see her play her parts (one of the wicked step sisters, and one of the witch children) tonight! I can't wait!

Monday, 20 April 2015

Watercolour Ways to Use It Challenge: Part One - Embossing Resist


The Ways To Use It challenge this past Thursday at SplitcoastStampers was to use a watercoloured background and the challenge contained links to a number of different technique tutorials and I just had to try a couple. Today's post is about my attempt to try one of these tutorials. Tomorrow 's post will be about another one.

One of the tutorials was the Watercolour Embossing Resist tutorial.  The card above was made using that technique. It involved stamping an image on watercolour paper with versamark, sprinkling it with white embossing powder, heat embossing it using the heat tool, and then colouring it with markers and water and a paint brush.


I decided to mat the finished piece with Wild Wasabi, and I wanted to give it a framed look, so I cut a 4 x 5 1/4 piece of Wild Wasabi and then cut the middle out of it and adhered the watercolour paper on the back of it before adhering it to a whisper white cardbase.


I used stamps from the Butterfly Basics stamp set. This set is so versatile that I can't imagine anyone not wanting it. It is so much fun to play with.


Monday, 13 April 2015

Happily Ever After Water Colour Emboss Resist


I did the center piece of this card quite a while ago but didn't incorporate it into a card until today.

I adapted the technique from the Watercolour Wonder With Stampin' Up! post on the Canadian Scrapbooker Blog. I stamped the greeting from the Big News stamp set with versamark onto a piece of watercolour paper and then sprinkled it with white embossing powder before using the Heat Tool to emboss it. After that I squeezed my Coastal Cabana ink pad before opening it to get some ink in the cover and I picked up that ink with a water soaked paint brush and made a few brush strokes across the embossing.

The piece is matted onto a piece of Coastal Cabana card stock. I adhered a piece of Best Year Ever DSP* across the bottom of the Whisper White card base and then adhered the matted greeting on top of it. The ribbon is from the Best Year Ever accessory pack*. The sequins are left overs from the All Shook Up Paper Pumpkin Kit.

*The Best Year Ever DSP and the Best Year Ever Accessory Pack were special Sale-a-bration items and are no longer available.