No finished product to show today, because I can't decide what to do with these. I have some ideas, but can't seem to settle on a plan.
The creations were inspired by this week's Technique Tuesday at SplitcoastStampers - Distress Stain Watercolour by Heather Telford. Heather used Tim Holtz Distrain Stains and Markers in her tutorial, but I just used Stampin' Up! Stampin' Write Markers. The one on the left was the first one I did. I misted it way too much, but I think I will probably still use it sometime. The one on the right I did next, and I still misted it a bit too much. The center one was my third attempt and it turned out the best.
The focal point of this card was started while I sponged the colour onto the butterfly for the Ode to the Blue Morpho card pictured below. If you click on the coloured words in this paragraph you will go to the post about that card and see how the butterfly is brown when it's closed.
Just before I started sponging the butterfly for that card I had the idea that just maybe I could use the butterfly as a stencil while I was sponging it. So that's what I did.
I got a piece of whisper white card stock and laid the butterfly (which I had cut out using my Big Shot and one of the dies from the Butterfly thinlits dies) in the center of the piece of card stock. I sponged one side of the butterfly with Tempting Turquoise. Then I turned the butterfly over and laid it out in the same spot and sponged that side with Baked Brown Sugar*. I actually turned it over a few time working on each side of the butterfly to get the look I wanted on the butterfly, making sure each time that I laid the butterfly out in the same spot so that I would get a nice stenciled look of the butterfly.
This is what it looked like when I was done. I wasn't sure what I was going to do with it, but I laid it aside knowing that I would do something with it eventually, and last night I had an idea.
I decided I wanted to piece to be 4 3/4 x 4 1/8. Using my Stampin' Trimmer, I scored, instead of cutting, where I wanted to trim it. Then I folded along those scored marks until it I could easily tear along them, giving it nice, soft edges.
Next I sponged more Tempting Turquoise and Baked Brown Sugar* to fill in the rest of the white that was showing around the edges.
I stamped the greetings using Memento and a stamp from the B.Y.O.P. stamp set. The stamp is actually one stamp but I masked off the bottom part of the stamp and inked only the top part to stamp the greeting and the top of the butterfly and then masked off the top part of the stamp and inked only the bottom part of the stamp to stamp the greeting at the bottom of the butterfly.
I cut a 5 x 4 1/8 piece of Baked Brown Sugar* card stock and adhered the finished piece onto it. Then I cut a 5 1/2 x 4 1/4 piece of Tempting Turquoise card stock and adhered both piece to it, before adhering the whole thing to a 5 1/2 x 4 1/4 whisper white card base.
*Baked Brown Sugar was one of the 2012-2015 In Colours and is no longer available for purchase, but I think Soft Suede ink and Soft Suede Card stock could be used for a similar look.
Excitement in our house today! Anna wanted to open it right away, before she even took off her coat.
This month's kit is called Birthday Bundle, and it makes 4 gifts bags and six cards. I decided to give you some close ups of the contents.
Close up of the white punch outs in the kit.
Close up of the coloured punch outs.
Also included in the box was this note, encouraging us to share the fun of Paper Pumpkin with our friends, with a special offer to pass on.
Here's a close up of the special offer. New subscribers get 50% off their first two months if the use the promo code SHARETHEFUN. Click to Subscribe Now!
That's my lame attempt at an ode to the Blue Morpho. I wanted to title this post Ode to the Blue Morpho so I felt the post should include a poem. That's the best I could come up with in a couple of minutes.
This card was inspired by the beautiful Blue Morpho butterfly, which we learned about at one of our favourite places to visit in the summer - the Butterfly House at the Newfoundland Insectarium. If you are ever in the area, you must go visit.
When we were visiting there a couple of years ago we were fascinated by these beautiful blue butterflies that were fluttering all around, but when we tried to get a sight of one pitched it was like it just disappeared. One of the employees explained to us that this is because one side of the butterfly's wings has this beautiful blue colour, but on the other side it is a molted brown colour. You can only see the blue when the butterfly is flying, because when it pitches it closes up its wings, showing only the molted brown side of the wings.
When I was playing with that idea I thought about the Blue Morpho and decided to attempt to make a butterfly similar to the Blue Morpho, brown on the outside, and blue inside. I cut the butterfly out of whisper white cardstock, laid it flat on a paper towel and sponged one side of it with Baked Brown Sugar and then flipped it over and sponged the other side of it with Tempting Turquoise. Then I went along the edges of the butterfly with my Early Espresso Stampin' Write Marker and coloured the body of the butterfly on both sides with the same colour.
I folded the butterfly in half and adhered just one wing to the card front, allowing the other wing to flap freely.
Butterfly Open
I would put this card in an envelope with the butterfly closed and then allow the butterfly to flap open when the card is taken out of the envelope.
The patterned paper on the card front is actually a piece that I made a while back when I was making the Flowers and Butterflies for a Card Swap. You will find directions on how I made it on the blog post linked in this paragraph. I made one more card front than I needed at that time so I tucked the extra one away to use another time, and I thought it worked perfectly for this card. I simply adhered the piece to a whisper white card base.
I've been playing, and I'm thinking some of these elements may find their way onto cards on my blog sometime this week, but for now, check out those butterflies in the background. Here, I'll give you a closer look.
Isn't that pretty! I read on a forum somewhere this week how someone adhered three butterflies together, placed a circle on top, and used it to hold a cupcake! I had to try it out. I decided to use the swallow tail butterfly thinlit from the Butterfly Thinlits, and that probably wasn't the smartest because the tails are not that strong. I did cut a scalloped circle using the framelit from the Circles Collection framelits and just laid it on top and tried somethings on it, but it wouldn't hold much at all.
It does look cute though. I may try it again with the other butterfly framelit, as I'm thinking that one might hold more, or I may try cutting the tails off this one to see if it can hold more that way.
I decided to try it with four butterflies, instead of three, to see if that would make it a bit stronger, and I decided to use two different colours this time.
I place the scalloped circle on top of that too, but it still couldn't hold much. Looks cute though.
And the colours you see depend on the angle you look at it from.
I think these make cool decorations even if they can't hold anything. I may play with it some more yet. We'll see. I'd love to hear if you try it and see what you do with it.
So, it didn't come out quite like I had it pictured it my head, but it's not too bad. Don't forget to check out the video at the bottom to see the butterflies flutter out of the card when you open it.
While browsing recently I came across the Floating Butterflies Video and I just had to try it. I didn't have some of the supplies she used in the video so I improvised.
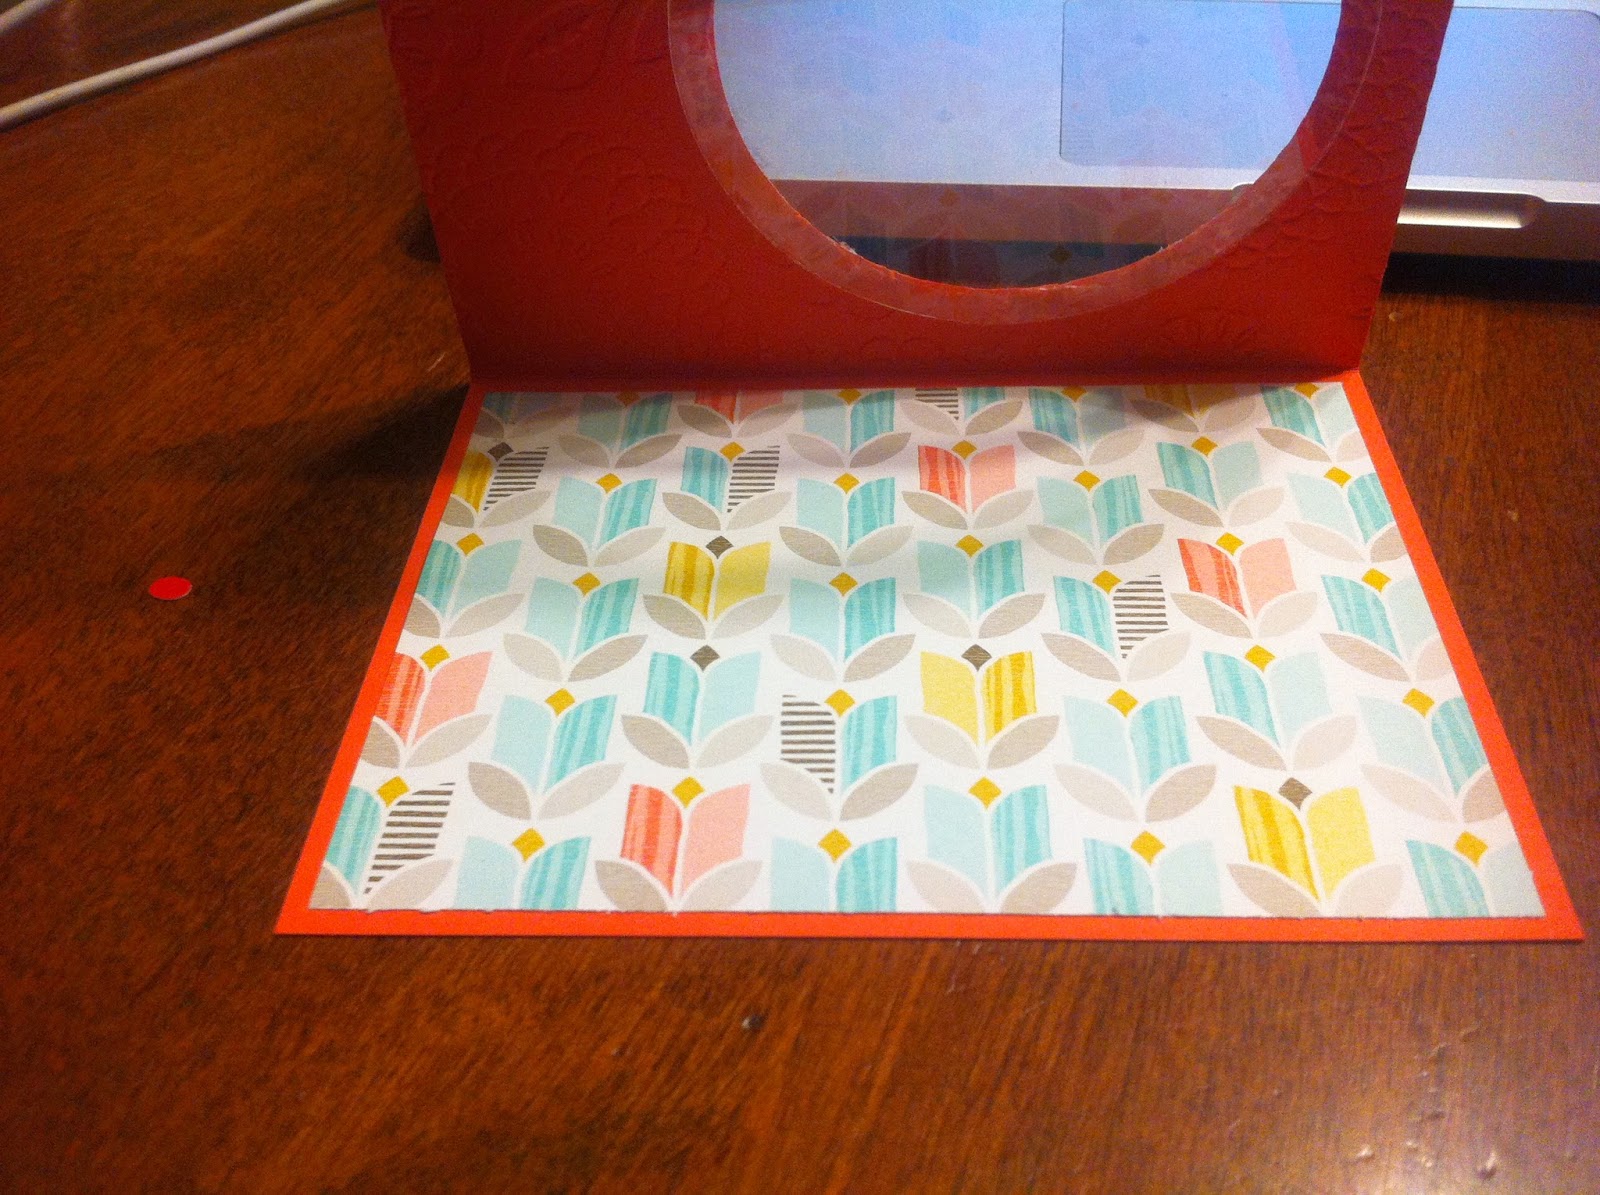
I used my Big Shot and the 3 5/8" die from the Circles Collection Framelits to cut 2 circles out of a Window Sheet. I adhered one of this circles to the inside of the cut out circle shape in the card front.
The other window sheet circle I cut spirally.
I cut a 5 1/4 x 4 sheet of Best Year Ever DSP (a Sale-a-Bration item which is no longer available for purchase) and adhered it to the inside of the card base.
Sadly, I didn't take pictures of the rest of the process, so I just have to try to describe it to you.
I stamped a greeting inside using Baked Brown Sugar and one of the stamps from the Butterfly Basics stamp set.
I stamped the outside greeting on a 1 x 3 piece of whisper white cardstock using Coastal Cabana and one of the stamps from the Butterfly Basics stamp set. I made a mat for it out of a 1 1/4 x 3 1/4 piece of Crushed Curry. I rounded the corners of both pieces using the corner rounder on my Envelope Punch Board before adhering to two together then adhering them to the cardfront.
I put a glue dot, actually two glue dots, on the outside end of the spiral and adhered it to the outside edge of the back of the front of the card. Sounds confusing. I had to stop typing and go take a picture of the finished card to show you what I mean.
Then I lay the spiral flat on the card front and put a glue dot right in the center of it before closing the card so that the center stuck to the patterned paper inside the card. I wish I had taken a picture to show you, and it kind of hard to see it with the card all put together. If you watch the video I linked above you will understand.
I used my Big Shot and the smallest butterfly die from the Butterfly Thinlits to cut butterflies out of the Best Year Ever DSP.
I used glue dots to adhere the butterflies at different points along the spiral cut window sheet that was adhered to the card. When you open the card, the butterflies appear to fly.
I adhered one of the butterflies to the front of the card.