Thursday, 14 May 2015

Faux Tin Happily Ever After


My almost double digits girl discovered acting this year and she is hooked. Last month she played two characters in a preformance called Happily Ever After, which was actually consisted of two plays - Cinderella and Sleeping Beauty - preformed back to back. She was thrilled to play the part of one of the evil stepsisters in Cinderella and one of the witch children in Sleeping Beauty. When she saw the card I made earlier with this stamp she brought to my attention that it was the title of her play, so I decided I'd make a card for her with it.

When I was exploring how to use the tin look on a card recently I had the notion that the filigree embossing folder would look cool in a tin look and this stamp would fit nicely in with it. I finally got to try it out today.

I started with a piece of cardstock that I had stamped a nice while back but it didn't turn out quite like I wanted it so I never did use it. It was the perfect piece to use.


I smeared the VersaMark ink pad all over the card stock before sprinkling it with the Silver Embossing Powder. I probably could have done it on the stamped side, but I decided to use the other side of the cardstock.


I heated it with my Heat Tool, let it cool, and repeated again twice more.

I then stamped the greeting with VersaMark in the middle of the cardstock, using a stamp from the Big News stamp set. I sprinkled it with white embossing powder and shook off the excess. I had to use a paint brush to brush off a lot of powder that stayed on where it shouldn't have. I might not have had that problem if I had a Embossing Buddy. Still, it look pretty cool before I applied the heat to it.


When I heated it up with the Heat Tool however, it didn't quite look so good.


It was like the white sunk into the silver. I was so sad. However, when I looked at it from another angle, it didn't look quite so bad, but it still didn't stand out as much as I hoped it would.


Next I put the cardstock in my filigree embossing folder and put it through my Texture Boutique. Both the Texture Boutique and the Filigree Embossing Folder are on the retiring list and are on sale until they are all gone. I'd snatch them both up if I didn't already have them.


Tada!


Kinda cool!

I adhered the tin look plate to  grey card base. The look you get depends on the angle you look at it, but missy likes it, and that's all that matters.


Wednesday, 13 May 2015

Making tin is hard work


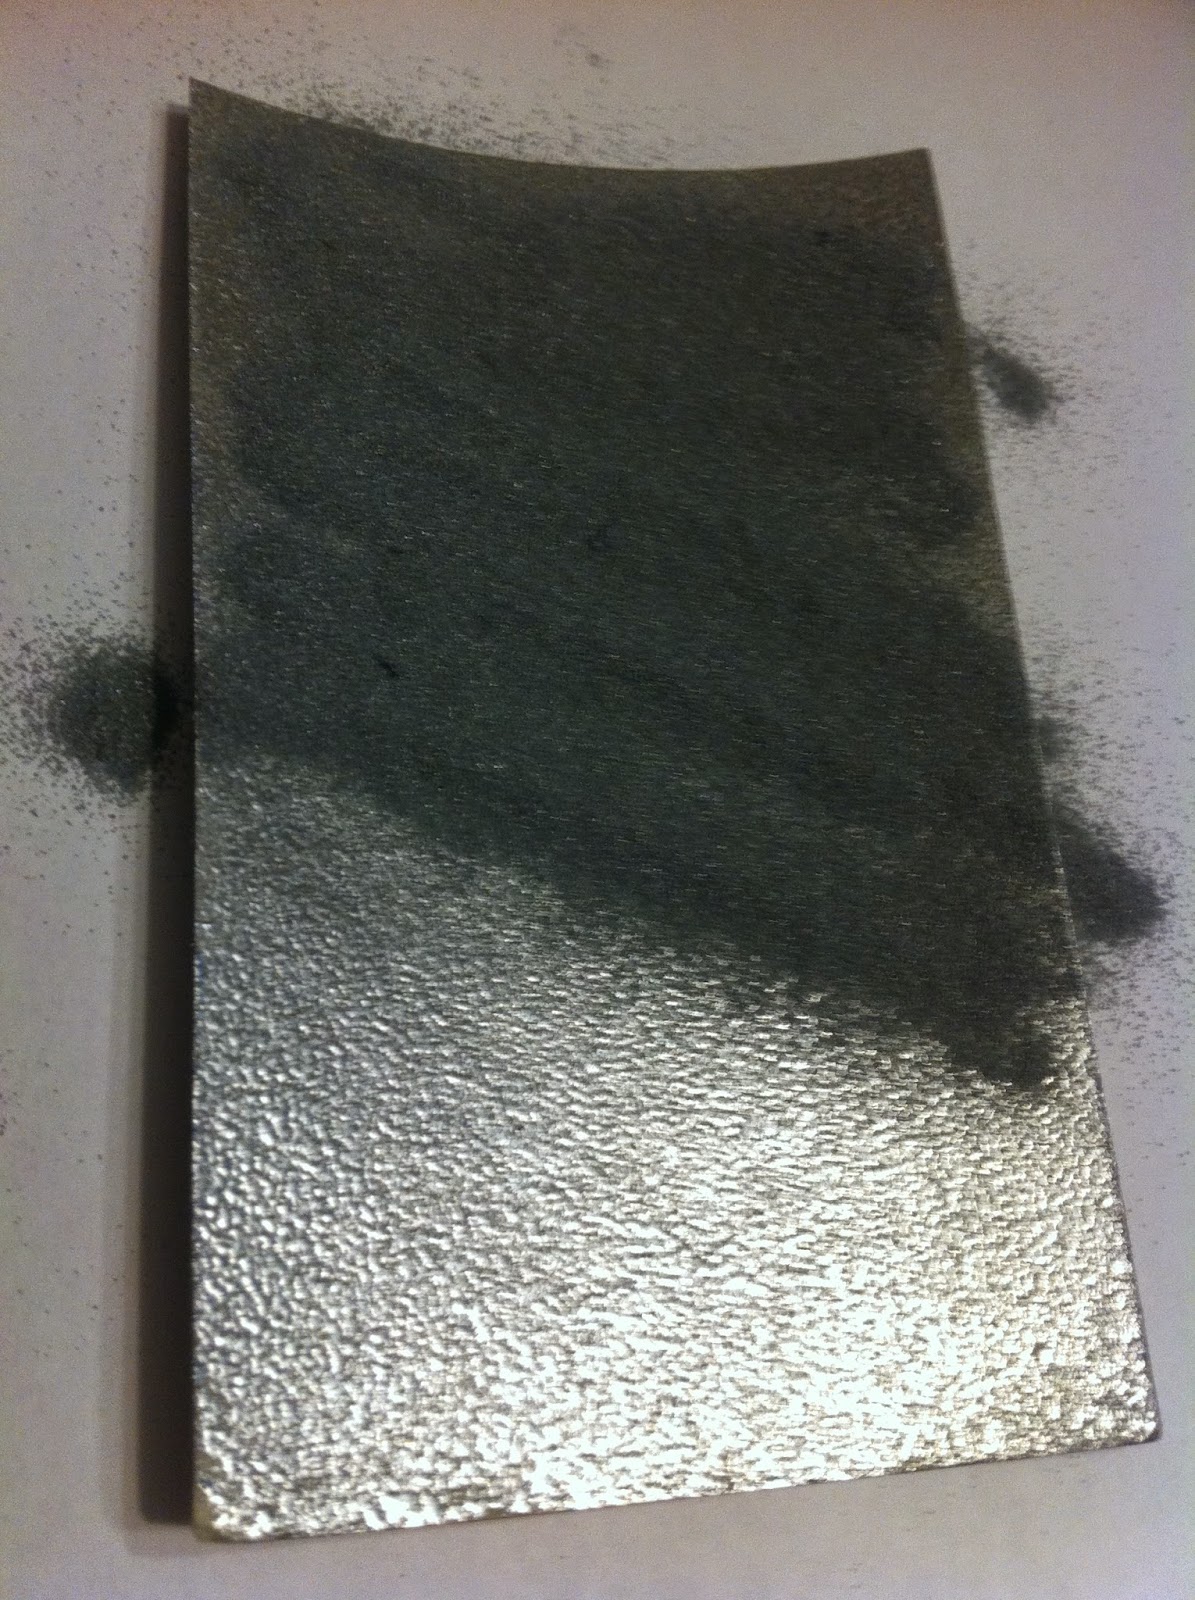
Okay, so it's not real tin, and it's not real hard, when you have the right tools. I was playing with my heat tool and silver embossing powder last night, trying my hand at making some faux tin tiles.

A little while back SplitcoastStampers posted a Faux Tin Tiles Tutorial. I thought it was interesting but I didn't have a lot of what they used so I went searching for another way to do it. That's when I found Diana Gibbs post Technique Lover's Class - Faux Metal Tin Ceiling. Unfortunately the link for the video in her blog post doesn't work, but I found it on Youtube - Faux Metal Tin Ceiling Tutorial with Diana Gibbs.  I had everything I needed to make the tin tiles this way so I tried it out last night.

First I took a piece of cardstock and rubbed my VersaMark all over it to cover the whole thing with VersaMark.


It really doesn't matter what cardstock you use because it's going to be completely covered in the end anyway so it is a great way to use up pieces of cardstock that you may have ruined or didn't turn out like you hoped. The size depends on how many tiles you want and the size of your tiles. I used a 5x3 piece of cardstock here.

Once it was all inked up, I sprinkled Silver embossing powder all over it until it was completely covered, and then shook off the excess.


Then I melted the embossing powder onto the paper using my Heat Tool. I love watching it change colour as it melts.


Once it was all melted I let it cool a bit before smearing it all over with VersaMark again and covering it with the embossing powder again.


When it was all covered, I shook off the excess, before heating it again with my Heat Tool. This is what it looked like in the end.


Because I didn't have the punch the Diana used, I used my Stampin' Trimmer to cut it into 1" strips...


...and then into 1" squares


Then I used one of my embossing folders and my Texture Boutique to emboss the squares.


Here's what they looked like after


I was hoping to do something with them today but I didn't get a chance to. Hopefully soon, but I don't know for sure because I had a couple of ideas on how to do something a little different, so I may have to try out my other ideas first. We'll see.

Tuesday, 12 May 2015

A Birthday Card fit for a man, or woman.


Today is my firstborn's birthday. He came into the world six weeks early at just barely six pounds, and now he's a strapping young man with a family of his own. I intended to give this card to him today for his birthday, but I forgot to take it with me when I went to visit him. I confessed in an earlier post that I'm not good with posting cards. Truth be known, I'm not good with giving them, period. I need to work on that.

While browsing pinterest the other day, a card by Michelle Zindorf caught my eye. She featured the card, with instructions on how to make it, on her blog post titled Lovely As a Tree Sympathy Card: Stampin' Up! Tutorial #565. I had to give it a try.

For my card I took a 5x4 piece of whisper white cardstock and smeared my Daffodil Delight ink pad all over it.


Then I used my Pistachio Pudding ink pad to create the idea of mountains in the background.


Using a stamp from the Lovely As a Tree stamp set, I stamped trees all across the foreground in Mossy Meadow.

Next, I sponged Wild Wasabi all over the trees. I didn't think it was making any difference but when I look at the pictures here I can see it definitely did.


I really didn't see any difference when I sponged some Old Olive over the bottom part of the trees, but Michelle had sponged two different shades of green so I decided to do the same. 


Lastly, I smeared the Mossy Meadow ink pad across the very bottom. I liked it much better without that step, but it was too late now.


I decided to make my card a Birthday Card, so I stamped the sentiment with one of the stamps from the Butterfly Basics stamp set, once again using Mossy Meadow.

I really didn't like the bottom part of the design, so I decided to cover it up a bit by tying some Hello Honey twine, which was part of a Sale-a-Bration item, across the bottom.

I matted the piece onto a 4 1/8 x 5 1/4 piece of Mossy Meadow cardstock and adhered the whole thing to a 4 1/4 x 5 1/2 card base made from Crushed Curry cardstock.


I think it makes a nice masculine card, but could also be used for a woman.

Monday, 11 May 2015

Sympathy Card inspired by a Special "Aunt's" Promotion to Glory


Late last night I found out that my Aunt Joan had received her promotion to glory. Aunt Joan is not my actual aunt by blood or family relation, but she is one of those special aunts of the heart. My parents were actually renting Aunt Joan's basement apartment when I was born, and Mom looked after Aunt Joan's boys whenever Aunt Joan went out. She had a house full of boys, no girls, so I was a bit of a fascination to them. We didn't stay with them long, but my parents remained good friends with them and I remember visits to their house over the years.

Aunt Joan was a very special lady with a heart of gold. She was such a great influence on everybody she ever met. She will be greatly missed and fondly remembered.

Thinking about her today, I decided to make a sympathy card. While browsing pinterest I came across a beautiful card by Heather Telford. She featured it in her blog post OLW 16 Stamp a Scene. After reading on her blog about how she created the card, I decided to give it a try.

I took a 4 1/4x 5 1/2 whisper white card base and masked off a section of it using post it notes. Then I sponged on Pacific Point, Mossy Meadow, and Wild Wasabi, to create a background.


Before removing the post it notes, I stamped a stamp from the Lovely As a Tree stamp set a couple of times in both Mossy Meadow and Wild Wasabi. Then I removed the post it notes and stamped the same stamp another couple of times with Memento.


I stamped the sentiment using Memento with a stamp from the Thoughts & Prayers stamp set.


Saturday, 9 May 2015

Amazing deal!

Check out the sneak peek of the amazing May kit for Paper Pumpkin in the recording of last night Paper Pumpkin Live Stream. It contains everything you need to make 4 nice size gift bags and 6 cards. Everything you need is in the little box that will arrive at your door.

Normally a Paper Pumpkin kit cost $24.95 but there is a limited time deal to kit the May kit for just $7! Can you believe it?


If you have never tried Paper Pumpkin before, now is the time to give it a try. BUT...hurry! The deal ends at 10:20 tonight, June 9. Go to PaperPumpkin.com to take advantage of this deal. Check the upper right hand side of the page to make sure you are in the Canadian store.


Enter the promo code 24HOURS and fill in your information.

Hurry! You only have til 10:20 tonight!

Friday, 8 May 2015

Black & White Butterfly Birthday


I told you there'd be more black and white cards. This one is pretty simple, but I like it.

I cut the shapes out of Black cardstock using dies from the Butterflies Thinlits, Wonderful Wreath Framelits, and Secret Garden Framelits.


The cardbase was made by scoring an 8 1/2 x 5 1/2 piece of white cardstock at 4 1/4. 

The black frame is a 4" square with a 2" opening. The white frame is a 3 3/4" square with a 2 1/8" opening. These were cut using my Stampin' Trimmer.

The greeting was stamped with Memento using a stamp from Butterflies Basics.

Dimensionals were used to pop the white frame on top of the black and to adhere the butterfly. Everything else was adhered with the 2-way glue pen.

The final touch was the Rhinestones.

Thursday, 7 May 2015

Paper Pumpkin Livestream Tomorrow!

Stampin' Up! is hosting a Paper Pumpkin Livestream Event Friday, May 8 at 7:00 PM (MT), which is 10:30 PM Newfoundland Time. I know that's late, but you can attend it in your jammies from your own home! And, it's only going to be 15 minutes long.

This is the first time Stampin' Up! has done a Paper Pumpkin Livestream so I have no idea what to expect but they promise it will be fun.

To watch the LiveStream
at 10:30 PM Newfoundland Time 
Friday, May 8.

Remember it's only going to be 15 minutes long, so don't be late signing in.

Here are the times for those of you not in Newfoundland that might want to join in:
Pacific Time Zone 6
Mountain Time Zone 7
Central Time Zone - 8
Eastern Time Zone - 9
Atlantic Time Zone - 10

If you decide to join the Paper Pumpkin event, drop me a message before, during, or just after the event to have your name submitted for a draw for a prize. If you sign up for a Paper Pumpkin Subscription after watching the live event and choose me as your demonstrator you will get your name put in for a second draw. I will be picking the winners one hour after the live event is over.

Contact me if you have any questions at all about the event or about Paper Pumpkin. Sure hope to hear from you!